E-Mail:

If you enjoyed visiting this blog, please leave a comment or feel free to contact me by e-mail: timstanks@icloud.com

Search This Blog

Monday 18 June 2018

Great Escape Games 1914 – Dug-in Markers


Trying out my first game of 1914, my British troops were starting from hastily dug in positions.
My first thought was to put alongside a cardboard chit to remind me of this, when I had the idea “Why don’t I make some Dug-In markers with my 3D printer!!”


Once again I entered the wonderful world of TINKERCAD. I quickly drew up a 50mm long marker using a simple wedge shape to form the earth parapet. To give this texture I added a slab of rough terrain from the pre-prepared shapes available. Then finally added an undulating shaped piece to resemble basic revetment to the inner face.


Having created the .stl file, I then printed out 6 of these in PLA. 


Sprayed Leather Brown (Army Painter) and then dry brushed Iraqi Sand (Vallejo), they just needed a coat of varnish, before adding the finishing touch of a little static grass.


You can see from the photos that some warped slightly when printing (failure to adhere properly to the printer bed). However these were easily straightened using hot/cold water so the bases now lie flat. I think that the slightly curved top edge of the parapet rather adds to the overall effect - but I would say that wouldn't I!

Simple but effective I think.

Salute 2018 Vignette


Having seen images of the commemorative vignette sculpted by Alan Perry as the Salute 2018 souvenir, I decided I would like to have one!


Not having attended Salute I was left having to bid for a surplus example on ebay.


At first they were going for silly money, but after a while things calmed down and I eventually bought a set for £5.50 delivered, which I thought was very good value indeed!


The figures needed little in the way of cleaning up and were sculpted in a less “Heroic” stature than some (as is the Perry’s style).


Included is a small resin base to mount them on. The wonderfully colourful box was designed by Henry Hyde and would make a suitable display backdrop.


After undercoating in white, I painted them up using my usual acrylics and washes. Once finished  I think they look  and make a fitting tribute to the combatants of the Great War.

Pimping Kallistra’s Hexon Trenches - Part 1


I bought a pack of Kallistra 10-15mm trench sections a couple of years ago at Colours. These seem to be the best value items currently on the market. They are robust and simple, with lots of available options available.

I bought the plain brown plastic versions intending to finish them myself, but you could always go for the (slightly more expensive) ready flocked versions instead.

With the appearance of Great Escape Game’s 1914 rules, my interest in small scale WW1 gaming has be rekindled. I therefore thought it about time I finally pimped my trenches.…

Firstly I coated the outer faces of the parados and parapet with fine sand held in place with PVA. When dry I applied a second coat of PVA to firm things up.


This then made the surfaces of the trench look a little plain. I didn’t want to go the whole hog with revetments etc. but I did think they were missing duckboards (I see that Kallistra’s 28mm versions have these moulded in).


This made we reach for TINKERCAD! And I very quickly had some 50 & 100mm sections drawn up ready to 3D print.


They took about an hour to print up and then I could cut them to size and attach to the trench bottoms with superglue.


All that remains is to paint them up and add the finishing touches.

Monday 4 June 2018

Display Cabinets

I guess like many of you out there, we want to display the fruits of our labours. This can simply be through pictures on a blog such as this, or perhaps something more physical - a display cabinet perhaps?
Top half of second cabinet
For a number of years I've had a selection of miniatures displayed in a couple of IKEA Detolf glass cabinets.

Bottom half of second cabinet
These are good value for money, simple designs, that fit in anywhere and look quite classy in my opinion.

The only complaint I have is that they only have four shelves (if you include the base) so there's a lot of wasted space.

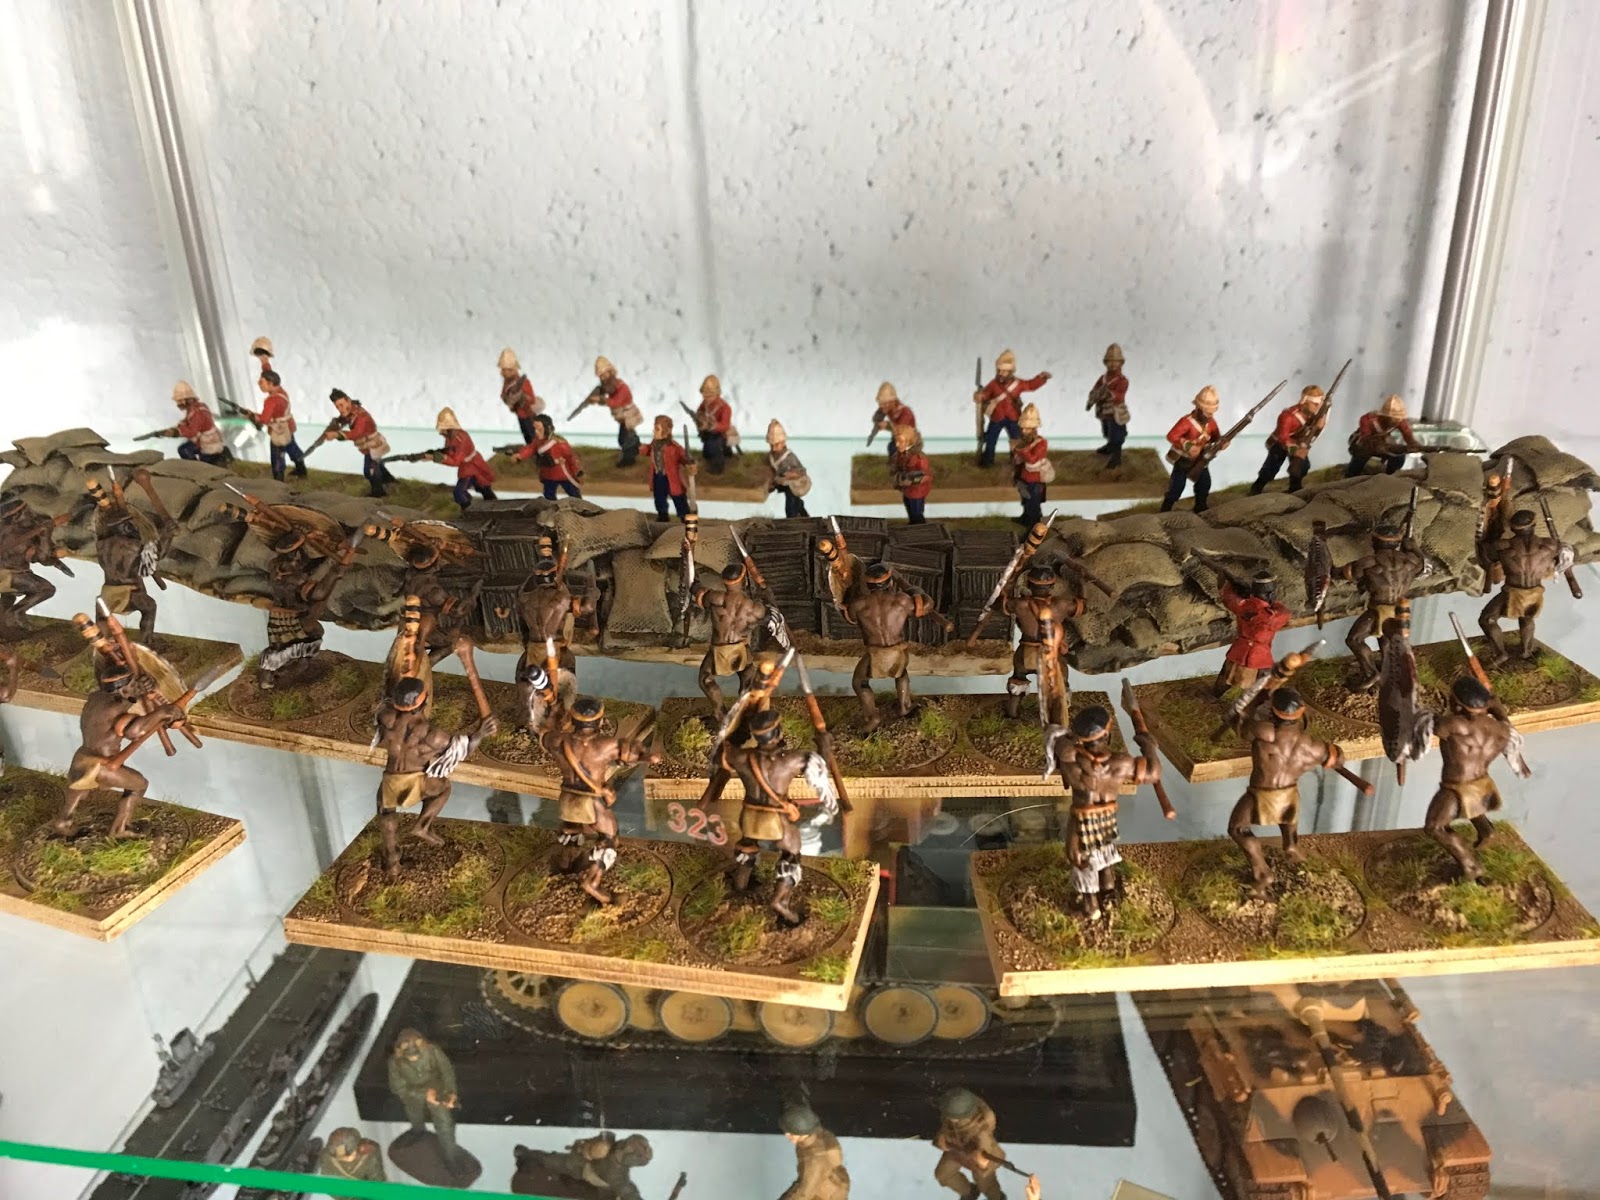
Zulu Wars 1879 - Warlord Figures on a perspex shelf
Recently I was browsing the Just Lasered website, having been pointed in their direction by the Doctorphalynx blogspot. Whilst most of their products are laser cut mdf buildings and custom cut foam inserts for Really Useful Boxes, they also supply additional shelves for Detolf cabinets!

Heavier display on original glass shelf
These are cut from 3mm  glass look perspex (with a pleasing green tinge) and are designed to rest on four cable clamps (also provided) at whatever height you wish in your cabinet.

At £9 or so each I thought this was just what I'd been looking for and ordered 5 straight away.

Two HOTT armies on a new perspex shelf
They arrived within the week, well packaged, and ready to go. Fitting the clamps is a little fiddly, but not impossible (an 8mm socket on a screwdriver type handle is a real boon here) and I had all 5 in place within 30 minutes. I fitted them equidistant between the existing glass shelves.

Then the fun started....what to display and what not to display!

Bolt Action 28mm Armies - PSC Russians and some Artisan metal minatures
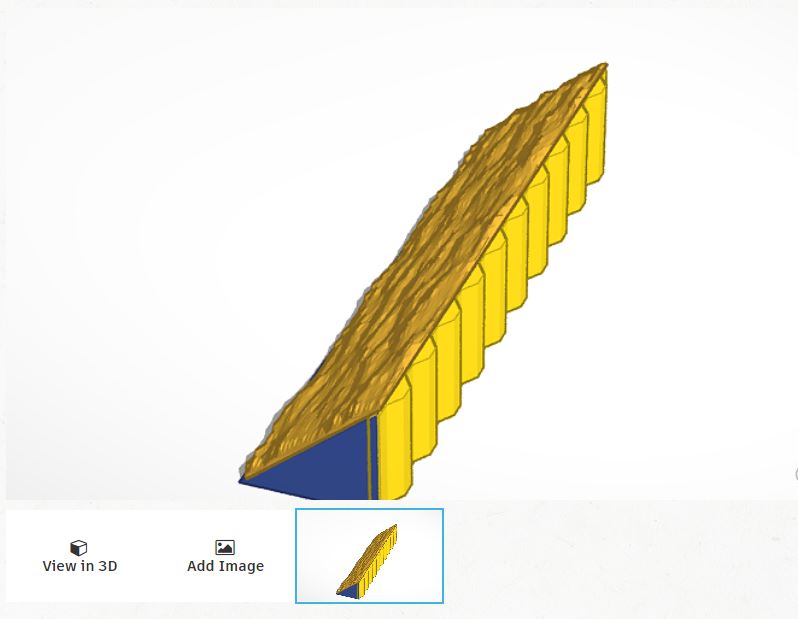
Being 3mm perspex the shelves are prone to bending if you display heavier items. To counter this Just Lasered include some 10mm deep strips of the same perspex that you can attach across the underside of the shelves to re-inforce them. I tried this on one shelf, attaching two strips with a a drop of superglue every 50mm or so along the edge.

15mm mdf Pegasus Bridge and gliders by Troll Trader & Warbases
This worked better than I expected it to. In place you hardly notice the strips and the shelf is quite solid, even with a heavy load.

Re-inforced shelf in first cabinet with Perry & Victrix minatures - spot the perspex strips!!
All in all I'm very pleased with these additional shelves. My cabinets are now max'd out (although there's still room for three more additional shelves if I changed the displays significantly) and miniatures I've had hidden away in boxes for years can now be displayed for all my visitors to see!!

1914 - Great Escape Games

I treated myself to these new rules whilst at Firestorm's recent tabletop sale. I have tried a number of rule sets for WW1 and whilst I enjoyed some, others haven't "floated my boat" as we say.


I own a large number of Pendraken 10mm WW1 figures that were very kindly given to me some years ago. I've used these for Peter Pigs Square Bashing in the past, but when I saw the Great Escape Games 1914 demo game at Salute (on You Tube) I thought that this might be the one for me.


I've been reading the rules through (which to be honest I haven't found to be as clear as I would have liked) and in parallel, re-basing figures to suit.


I'm nearly ready to give them a try so will report back when done.

What a Tanker - First Game AAR (Part Two)


Move Four. The Panther has a clear line of sight to the advancing Cromwell. The target is acquired, aimed at and a shot taken. To my surprise this only resulted in temporary damage and the reduction in command dice to 5D6.


Bizarrely, a return shot from the Cromwell’s 75mm resulted in a mirror image result to the Panther!


Finally Tiger and Firefly both manoeuvred into better firing positions ready for the next turn.


Move Five. The Tiger had the initiative and took a first shot at the Cromwell causing the crew to bale out.
The Panther failed to get the dice scores to shoot at the Firefly ……everything but the 4 to shoot and no Wild Dice to be seen! Then the same thing happened to Firefly leading to a stand-off.


Move Six. The Tiger, however, continued its slow advance and took up a firing position against the Firefly. 


Critical hits against the Firefly left it burning, but the crew baled out to fight another day.


Not an altogether unexpected result given the points imbalance, but a god (if very quick!) game all the same.

The switch back to inches from cm. was a success making things far more dynamic and fast paced.

Once I got into shooting, the mechanism really is very simple and I managed to survive off a quick play sheet I downloaded from the TFL Yahoo group’s pages.

I rather enjoyed myself as this works very well solo. There’s plenty of unpredictability built in (praying for the right command dice etc.) so the inevitable “helicopter” overview doesn’t matter at all.

I think I got the terrain density about right. It provided sufficient cover if you chose to use it (Cromwell crew please take note) without slowing movement down too much.

Whilst I only played two tanks per side, the rules are simple enough that I could have easily fielded twice that many.

The 1/150 (N scale) worked well. A good balance of visual spectacle combined with compact playing area.

I shall definitely be back for more….