E-Mail:

If you enjoyed visiting this blog, please feel free add a comment after the article in question :-)

Search This Blog

Showing posts with label Irregular. Show all posts

Sunday, 12 June 2022

Strength & Honour - 2mm Ancients (7)

 I decided to have a check up on what I've created to date for Strength & Honour. This was to confirm if there's anything else I think I need to print, and to enthuse me to get on and actually try a game!

My Roman Army.

Fortuitously, I printed my bases at 80mm width and 45mm depth. This meant that I could pack them away quite safely in a 1.5 litre Really Useful Box. I could fit 7 bases to a layer, protected simply by a strip of bubble wrap. There was room in the box for all my figure bases...that's two enormous armies + their encampments!!

Look how portable this system is!

I already had a Deep Cut Studio gridded (100x100mm) mat that I will use to play on and steered my choice for base colouring.


The remainder of what's needed to play fitted into another Really Useful Box - this time one holding 1.6 litres. I printed out Command Boards reduced in size to match the box dimensions so they could all be stored together. Also in this box is room for all my terrain pieces, the Disaster & Set-Back cards, some "Disordered" tokens I printed off and some Roman coins to use as Command Tokens. I've printed off some of Mark Backhouse's name labels and intend to fix those to their bases using good old-fashioned Blu-Tack.

Doh! I thought I'd printed 9 wood bases.....

This has proved a worthwhile exercise, as I've noticed that I'm a wood base short of what I thought I'd printed, so that's on the printer as I type.

My Gaul/Ancient Briton Warband based Army

I really pleased with all these. Its the first time I've been able to take up a new period/rules and created everything I need for myself - nothing purchased but the rules! If only I could find the time to get on and try them out......


Sunday, 24 April 2022

Strength & Honour -2mm Ancients (5)

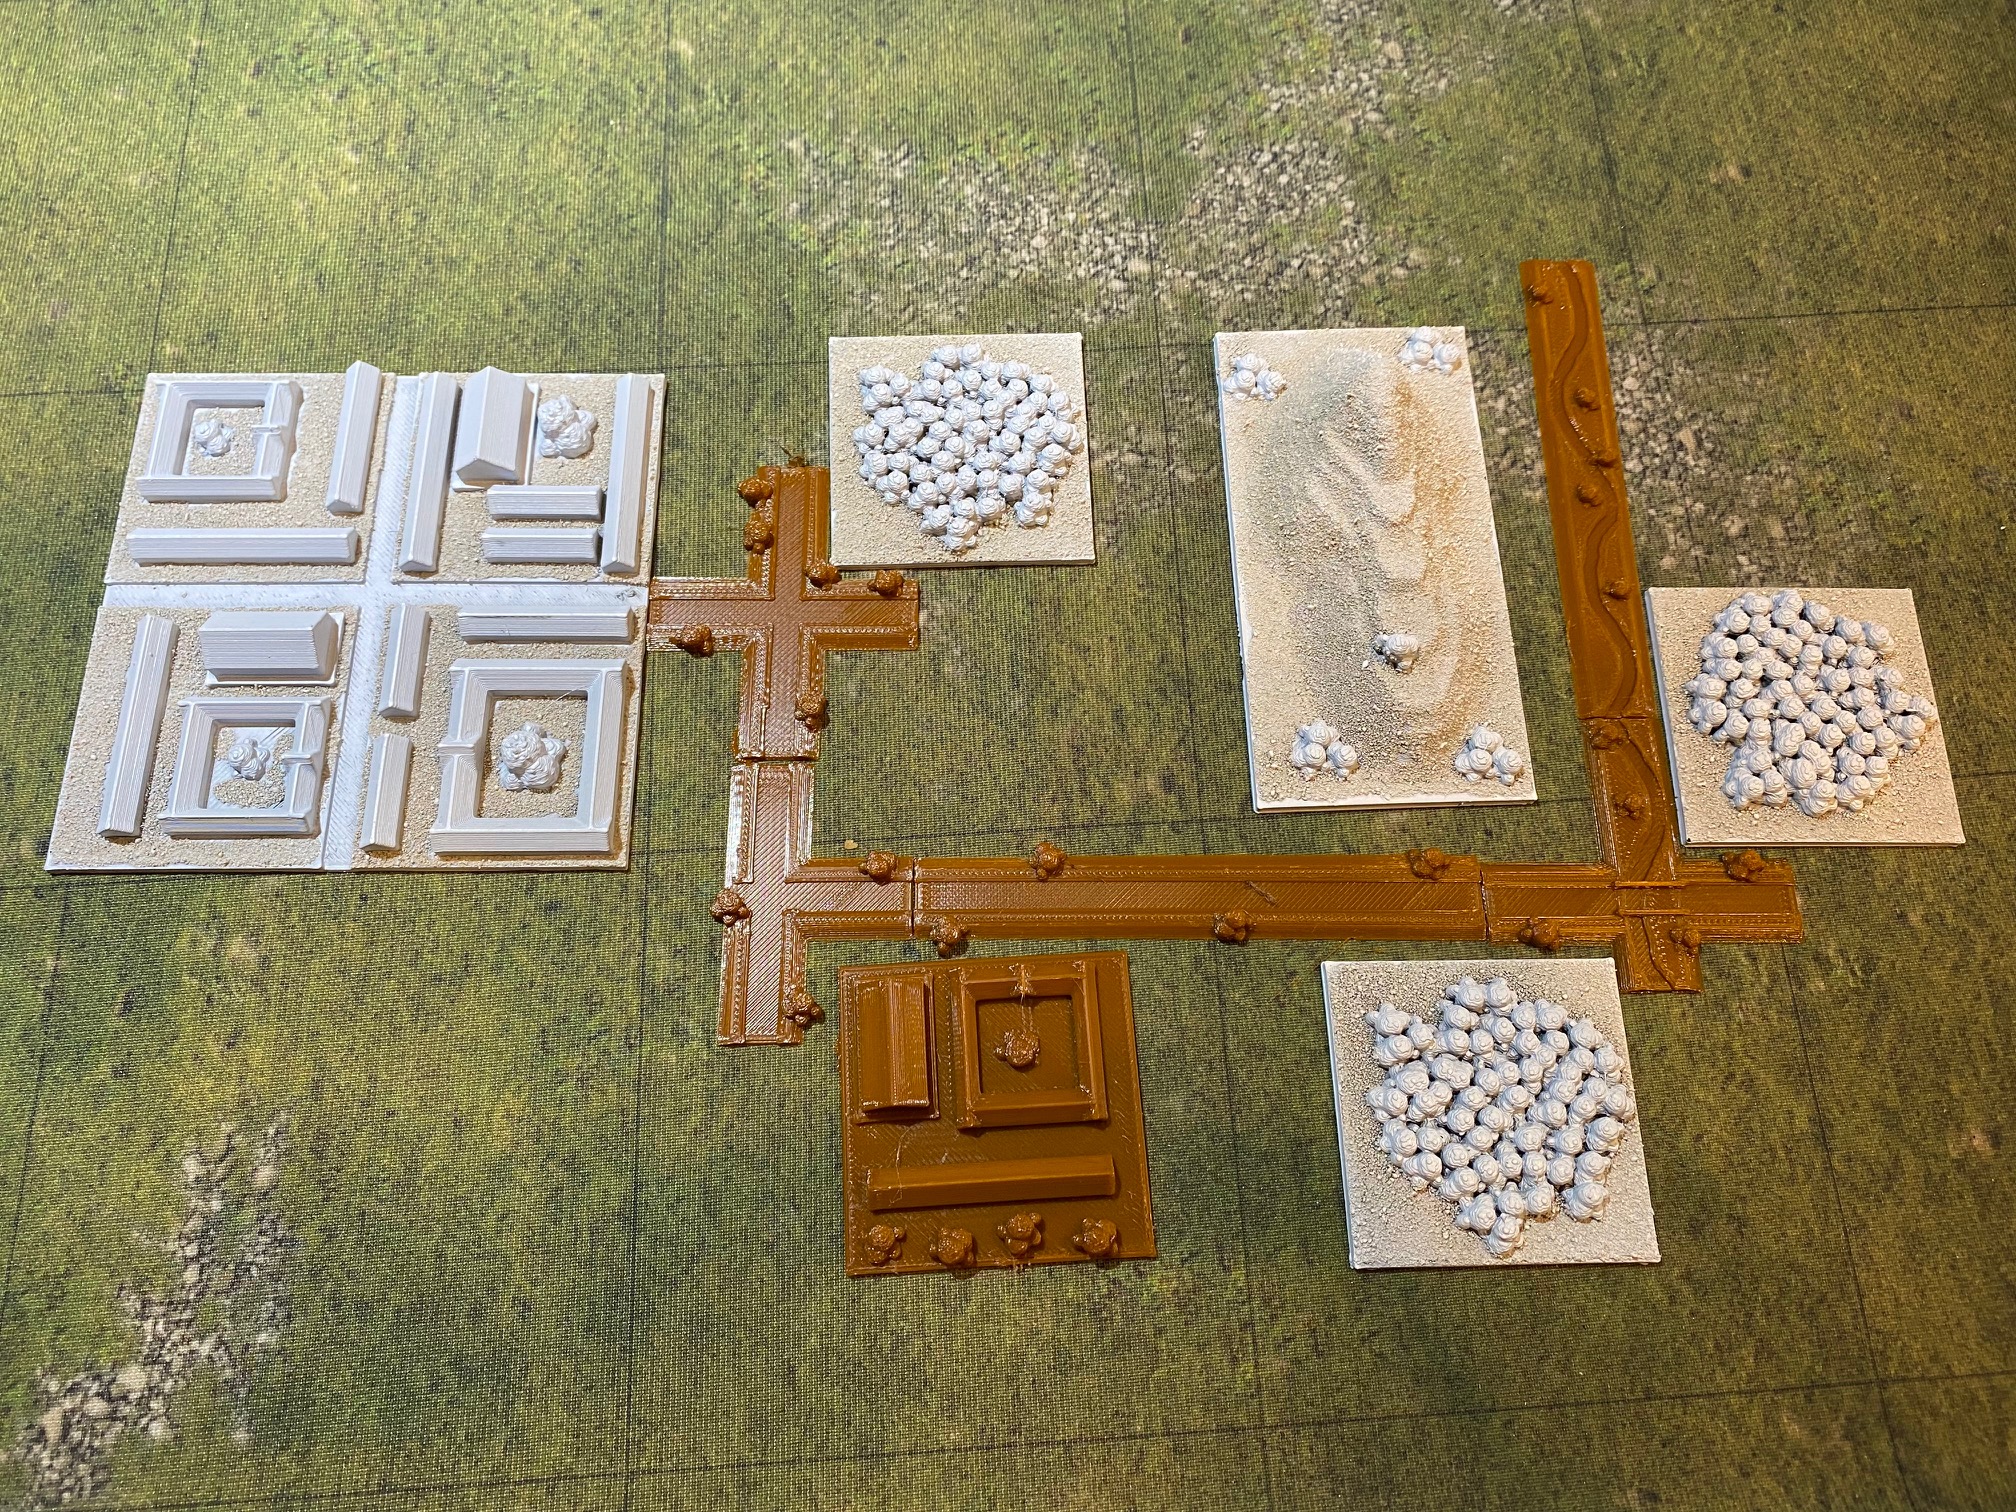
 Fueled with excitement for the new S&H rules I got to work designing some terrain pieces to suit my 50x50mm square battlefield.


These are simple items built using a combination of standard shapes (Cones, cubes, pyramids etc.) and other designs to be found on Thingiverse (trees, bushes, rocks, hills etc.)


Having drawn them up and converted them to .stls I printed them out before adding sand with PVA glue to the open areas.


Once dry I spray primed them in matt white before painting them up with a mix of Citadel Contrast and Scale 75 Instant Paints.


Finally when dry they were sprayed with matt varnish to protect and seal them.

The designs can be found on Thingiverse at https://www.thingiverse.com/thing:5355782 please feel free to give them a try😀


Strength & Honour - 2mm Ancients (4)

 I decided to take a pause and take a look at the approach I originally planned.

I’ve a perfectly good Deep Cut Studio gaming mat that’s marked out in 100mm squares, so taking the point Mark Backhouse made about imagining each “big” square is actually 4 ”small” squares (in this case 50x50mm) I have decided to produce my armies on 80mm wide bases rather than the 120mm wide bases I’d originally planned.

First up is my "Barbarian" army - produced using the technique I described in my last post. The base camp was designed using 3D Builder.


Next up is my Roman Army.


What other set of rules could enable you to produce two complete armies for next to no outlay and only take a couple of evenings to paint?😂😂

My next mission is to produce some more terrain (I’ve designed some roads, rivers and a villa to go with what I’ve done so far).

I’m now excitedly watching the “how to” videos and awaiting the rule release at the end of the month😃

Wednesday, 23 March 2022

Strength & Honour - 2mm Ancients (3)

 I've tried as hard as my somewhat underpowered laptop will allow me, to create some 3D printable warband "mobs" for S&H, but have failed dismally.

I found I could create a random shape in Tinkercad that I could then convert to a "Cookie Cutter" in 3D Builder and tried to use it on a very large body of figures I created by combining the infantry blocks available on Thingiverse from Braedzero.

This proved to be a job too far and my laptop just came to a halt!!

What was I to do?

Brainwave time (well I think it was😁)

Instead of using my random shape to create a "Cookie Cutter", I simply added it to a 80x45mm base in 3D printer (base was 2mm deep and random shape stood 2mm proud of the base)

Printed this out and then, using PVA glue, added some Woodland Scenics - Fine Dark Brown Ballast.

This is made from quite uniform particles which give the impression of thousands of heads.

Having tried this out, it occured to me that if I left this step to the very end, I wouldn't need to paint the tops of the figure blocks, saving me time. I will simply add sand to the base edges, prime in white and spray the ground colours. Then I will pick out the random shape in Vallejo black or Dark Brown and finally glue on the ballast .... hopefully job done.

I'll let you know how I get on.

If successful, that will be my Gaulish army sorted.

Thursday, 17 March 2022

Strength & Honour - 2mm Ancients (2)

As described in yesterday's post, I knocked up a basic Roman Legion base in 3d Builder. This had the overall dimension of  120x80mm by 2mm deep and used the medium sized infantry strips from Braedzero's Thingiverse files to build up the 10 infantry blocks.

This was printed on my Creality Ender 5 Pro using a 0.4mm nozzle and took just short of 5 hours to complete. I've ordered a 0.2mm nozzle to try to see what difference this will make to the resolution. The downside being it will take even longer still to print.

As ever, given that this was an FDM print, there was a certain amount of "stringing" at this scale. To overcome the worse of this I use a disposable cigarette lighter flame. I just pass the print quickly over the flame and the bulk of any "stringing" will vanish.


Once this was done I applied a coat of PVA around the infantry blocks and scattered some fine sand to texture the base.

When dry, I sprayed the entire base with Wilko's Matt White primer.

This gives a great basecoat for the next stage, painting using Citadel Contrast/Scale 75 Instants paints. The base was coated using Scale 75 Ogre Brown, which is actually a yellowy/brown that I think makes for a good mediterranean ground colour. 

When this was dry I painted each infantry block in Citadel Contrast Black Templar. This soaks into the recesses between the "heads" of the infantry and forms a nice shadow between the figures.

Finally, to finish them off, the infantry blocks were dry brushed with Vallejo Gunmetal before the individual shields were picked out by dabs of Citadel Blood Angels Red.

I then deliberated whether to add flock or not to the bases. The shortest flock I had was 2mm long, so in effect would have been 6 foot tall grass on the base! I therefore decided just to add some blotches of Scale 75 Instants Corrupted Stamina Green to give the impression of some greenery.

The base was finished with a quick squirt of Matt Varnish.

I'm quite pleased with this as a starter for 10. I'd intended using my Irregular Miniatures figures on MDF bases (and probably still will at some point) but this method will allow me to produce army bases reasonably quickly for very little outlay. Hoping to have two forces ready for when the rules finally launch in April.

The other files on Braedzero's pages cover things like Wagons, Chariots, Pikemen and Elephants so the world is your oyster. I've already knocked up Auxilliary Cohorts and Cavalry bases (based on the Roman Army on Jim's Wargames Workbench.) so just have to get them printed out to complete this army.

Better get that printer fired up........

Wednesday, 16 March 2022

Strength & Honour - 2mm Ancients (1)

 Ok it’s been remiss of me that I haven’t blogged anything so far this year! In fact, whilst I’ve been extremely busy with work etc. I have kept my hand in with my paintbrush but failed to share it with you all.

In the background I’ve been ploughing on with my Epic Warlord ACW figures. Every sprue I paint I try out another time cutting idea to try and speed up, what is a mountainous task to complete.

I will put these together into another post at a later date.

Of course, as a confirmed wargames butterfly, I haven’t been able to resist temptation elsewhere.

In January’s sale at Firestorm Games, I bought myself a 12mm Belgian 1914 army from Great Escape Games. These are on the paint bench and will appear when completed.

The other thing that has piqued my interest is the pending launch of Strength and Honour from TFL.

I have a large collection of Irregular Miniatures 2mm figures I inherited from my dear late friend, Colin. I haven’t until now, found a project worthy of them, but this might finally be the one.

However, before I jump in too deep, I thought I’d like to see what units for the game would look like in the flesh.

I joined the Strength & Honour Facebook page which I found very informative ……. Bearing in mind most members haven’t seen the rules or even played a game as yet!! From this I gleaned that the base sizes for a 3” gridded table were 120x80mm for a Roman legion and 120x60mm for smaller auxiliary cohorts. 

There were some particulary good examples on Jim Jackaman’s blogsite that gave me the idea I might be able to create an example or two using the 3D printer.

Better still there are some very usable files for 2mm infantry and cavalry blocks available on Thingiverse from Braedzero.

This led me to create an entire Roman Legion base in 3D builder which printed out pretty well.

It took just shy of 5 hours to print, but I think it will paint up OK and I’ll let you see how that goes on the next post…..


Monday, 22 January 2018

Rommel Scenario - "Operation Perch"

As a further taster here’s a draft version of the scenario map.

It’s somewhat stylised to ensure that all the key features of the battle area are included.

The Allied force enters the table and deploys in grid squares A:1- A:5. (Army Cards)

The historical plan for 7th Armoured Division was as follows;-
  • The 4th County of London Yeomanry (Sharpshooters) (4th CLY), with a company of the 1st Battalion Rifle Brigade, was to pass through Villers-Bocage and occupy the highest point of the ridge at Point 213.
  • The 1/7th Queen's Royal Regiment (West Surrey) would follow up and occupy the town and the 5th Royal Tank Regiment (5th RTR) and a company of the Rifle Brigade, were to take high ground at Maisoncelles-Pelvey to the south-west of Villers-Bocage.
  • The 65th Anti-tank Battery of the Norfolk Yeomanry would cover the gap between the 4th CLY and the 5th RTR with 17pdr SP Achilles self-propelled anti-tank guns.
  • The 5th Regiment, Royal Horse Artillery (5th RHA), would follow the rest of the brigade group with its Sexton self-propelled guns.The 5th RHA and the brigade group tactical headquarters were established at Amayé-sur-Seulles
  • The two Hussar regiments were to provide flank protection against the Panzer-Lehr Division and uncover German positions either side of the line of advance
  • The 131st Infantry Brigade, with the 1st Royal Tank Regiment (1st RTR) and the 1/5th and 1/6th Queen's, was to hold Livry as a firm base.

The German Forces will be scattered to the East of the River Seulles.

I haven’t a clue how to do it yet, but will come up with some random system of generating force strengths together with when and where they enter the table. This will be made up of elements of Panzer Lehr, 2nd Panzer Division and of course Wittman’s 101 Heavy Tank Company.

The actual battle lasted two days culminating with 7th Armoured Division withdrawing to a holding position around Amayé-sur-Seulles. This was due to Brigadier “Looney” Hinde deciding to take an overnight stop around Livry following an attempted counter-attack from elements of Panzer Lehr.

For gaming purposes I think the battle will fit into the standard 16 turn game.


Please feel free to pass comment as this plan evolves.

Tuesday, 2 January 2018

Rommel 2mm

Found some time to finish off my Rommel Divisions over Xmas. All the Irregular models are now based and have their unit stats attached.

The allied army represents a 1944 Armoured Division (i.e. 7th Armoured) but I have brigades of both Cromwell and M4 Shermans so I can recreate other units if required.  Armoured Infantry bases have the addition of a M5 Half-Track whilst motorised infantry have nothing (I forgot to order trucks!)
 The German army is based on the Panzer Lehr Division of 1944. There is a choice of Tiger I or II bases as support and I have more infantry that should be the case, again to allow me to represent other units when required.
I’m now looking at how I might store these when not in use. I think the whole game lends itself to being highly portable, so will consider this when planning my options…..

Tuesday, 19 December 2017

Rommel 2mm - Reinforcements

Progress is slow but steady on the Irregular Miniatures delivery I received a couple of weeks ago.
All the figures & vehicles have been based and painted and are now awaiting the addition of a bit of clump foliage to represent trees and bushes.
I've created Allied & Axis supply tiles. I chose the hexagonal mdf bases (50mm) so they stand out on the table and do not get confused with fighting units. Each contains a selection of tents, fuel tankers, tank transporters, spare vehicle models and an anti-aircraft gun emplacement. I'm quite pleased with how these have turned out. It was a shame that one of the AA emplacements (on the left hand base) was miscast, but once painted you don't really notice.
Whilst I was at it, I created an airborne landing marker using the new Irregular Miniatures Horsa Glider model (60p each). I know it's not actually a requirement of the rules, but I thought it would be nice to indicate landing zones in any D-Day type games. I will need to produce a few more, but again, I'm pleased with the prototype.
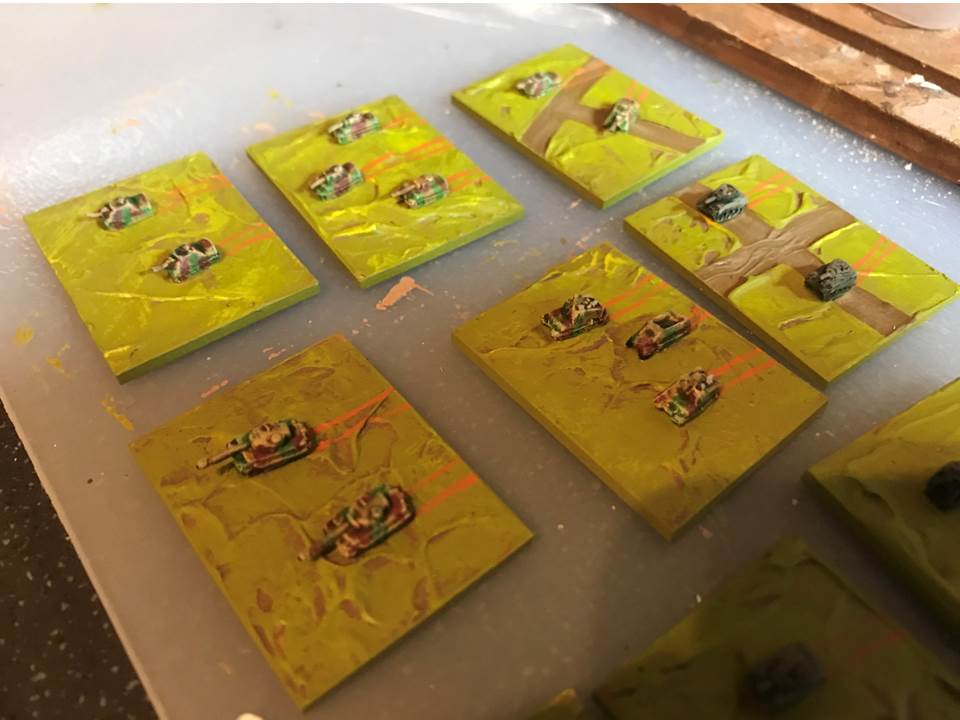
These are my Allied Armoured Infantry - indicated by the addition of an M3 Half-Track per base. The right hand base is a 25 Pounder Battery.
Up until now, my Allied Armour consisted only of Cromwell tanks. Now I have the choice of a Sherman equipped brigade as well.
I've also added some Achilles Tank Destroyers (3 bases each with two models to differentiate them from tank bases), additional Cromwells to make up a full brigade and a Sexton battery (well M3 Priests really).
Finally I bolstered the Panzer Lehr Division with additional Panzerjager bases (2 x Jagdpanthers per base), a Tiger I platoon (nearest the camera) and a self-propelled artillery battery (2 x Wespe + Sdkfz251 Half-Track).

As well as this I've two more BUAs nearly finished and I added an Sdkfz251 to every Axis infantry base to indicate that they are all armoured.

Each base has had a sheet of self-adhesive ferrous paper attached ready to receive a magnetic data label. Hopefully by Xmas these will be ready to venture out onto the table.

'til next time....

Friday, 8 December 2017

Rommel 2mm - Reinforcements

Whoopee....reinforcements have arrived from Irregular Miniatures!
Oodles of 2mm goodness.......
I've ordered a "Town/Suburb" and "Riverside town" terrain pieces to make two new BUA terrain tiles (each 60x60mm) which you can see to the right, top corner of the picture. These come in at a whopping £2.40 each, but make the production of the tiles simplicity itself. All I need to do is smooth around the edges with a bit of acrylic modelling paste, to blend the castings in, and they'll be ready to paint.
A mixture of Sherman, M10 Tank Destroyer & M7 Priest models ready for priming
I've also ordered sufficient miniatures from Irregular's range to build my Rommel forces up to Divisional strength. I will now be able to field a 1944 British Armoured Division with either Sherman or Cromwell as their main AFV (modeled on the Guards & 7th Armoured Divisions) and a 1944 Panzer Division (modeled on Panzer Lehr & 12th SS Panzer Division Hitlerjungend)
I've been knocking together some organisation tables to help me remember who is in which element using colour coding that I'll then apply to the base tags. This is an early draft, but you'll get the drift.

I'd better get on with painting these little beauties up.....

Monday, 4 December 2017

Rommel 2mm - AAR Encounter Battle part one.

Time to try the rules out in anger for the first time….solo.

I opted to go for Scenario 3 in the book – Encounter. 
 This is a simple battle, length ways (narrow edge to narrow edge) across the table. Both sides have two objectives each and to win must control at least 3 objectives by the end of the 12th turn.

Before beginning, both forces are divided in half and one half deploys in the first three rows whilst the other is held in reserve. The reserves get to come on when a combined score on 2D6 rolled at the end of a turn, is less that the number turn you are on.

I used what forces I have – so probably smaller armies than the scenario required. The British force was 52 points and the German 62 points. This exercise was more about trying out the rule mechanisms and learning how the game plays, than replaying a historically accurate event.

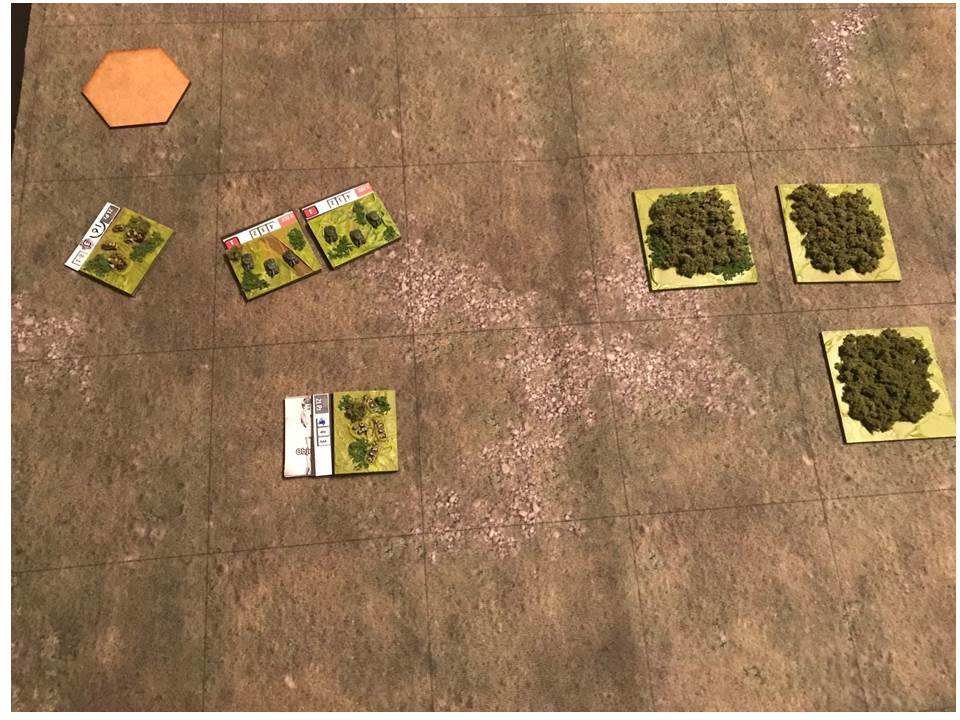
I diced for the terrain and laid it out in as balanced a way as I could, either side of a centrally placed river with 6 crossing points.
Once the terrain was set I deployed the two armies and I was ready to go. Starting positions were as per the photograph below.
TURN 1: The Brits won the dice-off for for first move and opted for a swift right flanking move with a small battlegroup (top right corner) intending to take out the nearest German held objective (top left corner).

Two Ops bought me a road movement of 6 squares, crossing the bridge along the way. To delay any attack on the British objective (bottom right corner), the armoured unit supporting the holding infantry company, advanced two squares to the bocage area to their front.
TURN 2: The Germans also spent 2 Ops and advanced via road movement to cross the river just to the front of the defending British armoured unit. Here they waited (tipped)  for infantry support to catch up.
TURN 3: Saw the British right flank advance come to fruition with a successful flanking assault on the German dug-in Company at Objective 1. I'd found the mechanisms for combat to be simple to learn and the QRS contains just about all you need to play. I do find it helpful to have a pen and paper handy to work out the opposing combat factors though!
TURN 4: The German Panzergruppe was now ready to pounce. They moved into the attack against the British Armour and although they were tipped and at a disadvantage they succeeded in causing enough hits to  destroy them. This was largely at the cost of spending a large number of Ops on a 2nd round of tactics and then paying for shifts in the number of hits to ensure success.
TURN 5: Having left an Infantry Company behind to hold Objective 1, the British armoured units advanced across the table (Behind enemy lines but not isolated) and prepared to assault the second German Objective.
Once again the objective fell reasonably easily even though the armoured units were tipped. The flanking attack + out-numbering made all the difference! As you can see from the picture, the German artiller was still tipped from supporting the previous turn's attack, so couldn't support the objective.

So at the end of turn 5 the British forces held all 4 objectives, but the Germans were closing in on the 1st British position.
Things were looking Ok for the German forces until the British rolled an 1 and a 3 at the end of turn 5....allowing their reinforcements to deploy in the first row of the British table edge.........

I'm sure I'd probably missed some things in those first few moves, but the rules are very straight forward. The use of Ops to buy events and tactics gives you plenty to think about along the way. Do you just keep buying and taking your 6 (hopefully) new Ops each turn? or do you take a chance and reset the Command Post to free up the most useful Ops again but risk not having enough Ops to pay for them....what a conundrum! Loving it!!

To be continued.