E-Mail:

If you enjoyed visiting this blog, please feel free add a comment after the article in question :-)

Search This Blog

Showing posts with label WW1 15mm. Show all posts

Thursday, 2 May 2019

PSC The Great War - French Army Expansion

I signed up to the French Expansion Kickstarter way back when finally receiving the finished article in September 2018 (see http://timstanks.blogspot.com/2018/09/pscs-great-war-french-army-expansion.html).


I commented on my initial thoughts then, so won't repeat myself. This is just an overview of what I have done to finish the figures off ready to play.


I decided that I would mount the figures four to a 40x30mm mdf base as I had done previously with both the British & German armies. To indicate how many lives each group of four had remaining, I added a Minibits dice frame and micro-dice.

My thinking here was that the figures could be used with other rule sets as wargame units with the dice left off the bases.


The new "Special Troop" figures (Sniper, Flamethrower etc.) I based on a 20mm dia. mdf circular base


I purchased the bases at Colours 2018 and didn't really do my homework first..... I therefore bought larger Micro-dice/Frames than I'd used previously (though they're easier to see!) and I'd previously based the  Grenadier figures from the original game on 15mm dia. bases not 20mm.


Oh well....


The figures are now moulded in  a blue flexible plastic and I first washed them in detergent to remove any grease etc. before painting commenced.


As flexible figures invariably shed flaking paint over time, I decided to use the moulded colour as my "Base Coat" to minimise the risk. To add depth, however, I decided to give them an overall  wash of a darker colour.


So the first job after gluing them onto lolly sticks ready to paint, was to give every figure an overall coat of Army Painter blue wash. Sadly my detergent wash failed to remove all the release agent and the wash did not cover well.


A second wash gave the same result, so in desperation I washed them all in Mentholated Spirit which finally did the trick.

So all figures received an overall blue wash.  Once dry I painted the details; -

  • Boots, Webbing straps, Rifle Wood work and Rucksacks - Leather Brown
  • Haversack, Rolled Shelter, Gasmask - German Camo Beige
  • Gasmask Filter, mess tins and Gas Mask case - Dark Grey
  • Hands and face - Flesh
  • Rifle receiver and details - black
  • Bayonet Blade - Boltgun Metal
Then all these above areas received a coat of sepia wash.
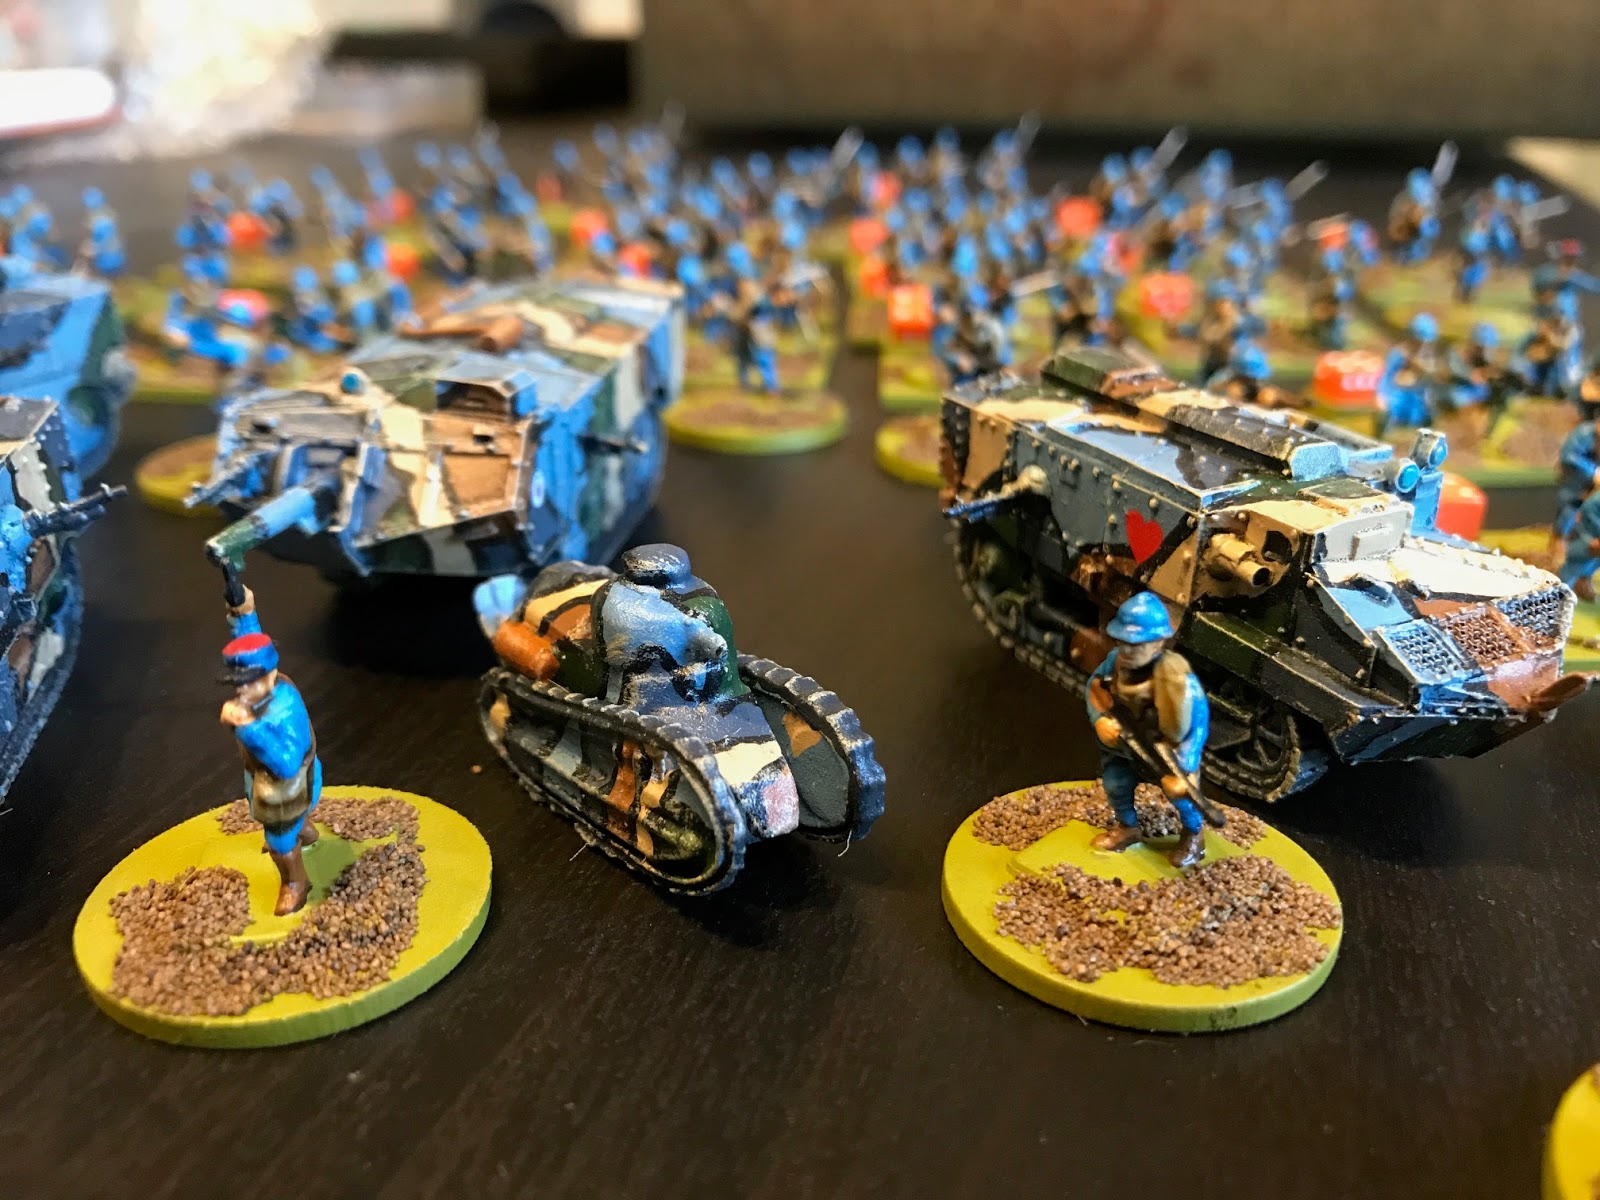

The bases were given an overall coat of camouflage green (tool two coats to cover burnt edges of mdf bases) and once everything was dry I added some railway scatter to break up the surface.


Finally one spray coat of Satin Varnish followed by Army Painter Matt Coat when dry.


This was a quick and dirty method of getting these figures ready for action and works very well.


To go with this expansion, PSC have added French Tanks as options. The rules for their use came with the expansion as stretch targets, but the vehicles had to be purchased separately.


As luck had it, Firestorm Games were selling off their Battlefront Great War range and I picked up two C1. Schneider tanks at 50% off. Then at Crusader 2018 I picked up another Battlefront Schneider together with a St. Chamond for £5 and finally I rediscovered two Peter Laing FT17's I've had for many years.


All these were given a rather garish paint scheme (as per the Battlefront Great War rule supplement) so they can be fielded as part of my new French Army.


And very nice they look too. All I need now is some free time to try them out......


Monday, 19 November 2018

PSC's The Great War - The French Army Expansion - figure painting

Just a quick post to prove I'm still alive.

Family holiday + another work trip abroad have limited my blogging time these past two weeks.

However I've done some modelling and finally got around to playing a game with my TravelBattle set - more of which in  a future blog.

One of the challenges I've been facing myself with these last few weeks, is how to tackle the new softer plastic French army figures I'd just received from PSC.

Two problems came to mind; -

  1. There's loads of them!
  2. Soft plastic and acrylic paints .... will the paint flake off.
These days I tend to look for a suitable spray paint to base coat my figures to try and speed things up. But I couldn't find a suitable blue anywhere. Even if I could....would the paint stick?

Then I had a light bulb moment!!

"What if I just left them the colour they came in and just painted the details? Better still what if i coated them in a blue wash first to pick out the detail and then painted everything else?"

To test my theory, I picked a figure up and tried to coat it in blue wash (Army Painter).... epic fail 😣 the wash just pooled due to the release agent coating the figure.

I should have known better! So I gave the figure a light scrub in some detergent solution, dried it and tried once again. Success 😁

Once it was dry I painted the details (flesh, weapon, webbing, boots etc) and then in turn, washed them with sepia wash.

Result was a very quickly finished figure that looks just fine, And it appears to hold the paint well too. When I base them I'll spray them with varnish so I think they will be just fine.


Sunday, 1 November 2015

PSC The Great War - Trial Solo Game

Having finally finished painting all the figures from the basic game + the guns and Generals from the Kickstarter package it was time to start to learn the game mechanisms.
I thought I'd start with the first scenario at the back of the rule book. Laying out the way German trenches first, I experienced the frustration I've read about when trying to locate trench junction hexes. Because the hexes are printed on both sides, you've got to keep turning them over to find what you want. Careful storage will solve this one, keep all the junctions together.
Having laid out both front lines, I deployed the units as recommended in the scenario.
Next I dealt five command cards a piece and two combat cards. Each side started with six HQ tokens as well.
The British command cards presented them with three cards to order the left hand section of the board, one for the centre and one that allowed units to be ordered in the left and right sections.
I thought I'd get straight into it to see what the mechanism should do. I advanced out of the trench one hex and tried a ranged attack at maximum range. A single dice role, but I got a burst symbol - one hit!
Next move the Germans got their opportunity to pay me back. Two hits and a retreat one hex. Back where I started and two lives down. Well ranged combat is simple enough!
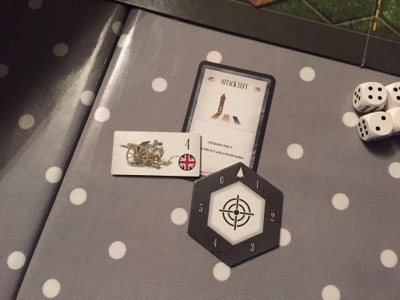
Next let's try ranged attacks by the reserve artillery. They need to be ordered to do so, just like the infantry units. Both sides had strength 4 artillery, meaning they roll four D6 to find out what they've hit.
Artillery template placed on target hex with the 6 facing their base edge. Four dice rolled.
The barrage landed in hexes 2, 4 & 5. The double four means one barrage landed on target. This was rolled first and gave me an HQ token. The others had no effect as no one was in the hexes.
The German barrage next move was equally ineffective.
Time to try the close combat mechanisms. An order four random units and add an extra dice to their combat phase command card allowed me to advance to contact in two places. The combat dice were rolled and the reductions for being in a trench were applied. Both combats resulted in the enemy units taking two hits -a good start.
The following turn, the Germans were unable to order a counter attack, so once it was my turn once more the British capitalised on the situation, caused two more hits on one unit -destroying it. The British unit could now follow up and occupy the hex and take a victory medal counter.

All in all quite easy to learn......difficult to master! I think you need to build up the pressure (artillery, mg and mortar fire) before you can launch a breakthrough attack. More practice definitely needed, but a good start. I think I'm going to like the Great War.

Sunday, 16 August 2015

PSC -The Great War - Kickstarter Metal 15mm General Figures

Finally finished the Kickstarter General Figures today. Pictures aren't the best (iPhone) but they should help as a painting guide with colours.

The source material I used was all from the Internet.
A variety of sources, all cut and pasted into PowerPoint and printed off.

Starting from top left, the British General in service dress.
Next the German Field Marshall.
The French General in Horizon Blue.
The U.S. General in his overcoat/raincoat.
The Russian General with red striped blue trousers.
Austrian General in a more blue uniform rather than field grey.
Italian Gereralisimo in field grey.
And last but no means least, the Turkish General with his grey furry fez!

So there you go. These were a nice distraction from the usual stuff. I guess as time goes on and the supplements for the game start to appear, there may be a role for these figures. But for now they're just nice to haves.

Friday, 14 August 2015

PSC The Great War - Enter the Guns!

After much humming and hahing I finally decided it would be better to base my Great War Figures.
My thinking behind this was twofold.
1. The based figures are better protected in storage
2. The figures are quicker to move around the board.
The bases are 40x30 2mm mdf from Minibits as are the  dice frames and die which will keep track of the casualties and to make the bombardier stand out, I mounted him on a 2mm mdf base too. The bases were textured with sand before painting Vallejo Camoflague Green. Then to tone them down slightly, they had random patches of brown model railway ballast added to represent mud.
I took the same approach with my artillery pieces. In this case the die can be used to indicate the barrage strength. Much nicer than the cards, and will be useful if I ever do WW1 in 15mm!
The Germans got the same treatment. Nice models, simple to make though you need to take care as both have one or two delicate pieces.
Finally, I've nearly finished my metal general figures. Very nice detail in the sculpting, they paint up well. Not sure how useful the more obscure army's figures will be, but nice to have all the same.

Just four sprues to finish now. Two of each side......hopefully I'll find the time before I get diverted on to something else....


Monday, 13 July 2015

PSC the Great War

Just surfing on the interweb and came across this quote from The Great War's creator Will Townshend, PSC Games on February 17

The metal command figures set is an exclusive reward to Kickstarter backers. It comprises 8 x 15mm/ 1 100th scale general figures beautifully sculpted by a talented sculptor I know. There will be a British/ANZAC/Commonwealth, French, German, Russian, US, Austro-Hungarian, Italian, and Turkish General in the set. 

Apart from being a thing of beauty, the generals set gives the optional rule that if you field your nation's general for that scenario in your off board play area you can take 2 additional HQ tokens at the start of the game. 

They are in metal because doing them in plastic would be hugely expensive just for a Kickstarter exclusive ( it's still not cheap in metal!) and my talented sculptor only works in metal!

In addition I also noted from the Kickstarter site that the intention of the artillery models is to replace the  reserve artillery counters!

So I think I now have the answers to my earlier questions.

However, I'm now wondering how robust the figures will be when stored together in a box/pot with the game. I've seen plenty of people playing CandC Ancients and Naploeonics with wargame figures on multiple bases.

What about mounting them four to a base with a Minibits dice frame and six sided dice to record casualties? They'll be quicker to deploy and move, and a lot better protected when in storage. But will this limit future gaming?

Thoughts anyone?


Sunday, 12 July 2015

PSC the Great War - Metal Command Figures

Here's a quick look at the kickstarter bonus command figures.
The sculpts look to be very good, let down by poor casting. The lines visible on the figures hats bear witness to the fact that all the moulds are misaligned. What a shame. I will have to see what they look like after a bit of filing.

I've now read through the rules once and I am still uncertain how to make use of these during a game, and for that matter, how to use the artillery pieces?

If anyone can help, let me know.

PSC 's the Great War - first Sprues finished

Final coat of bolt gun metal on the British bayonets and these little beauties are finished.
I think as time goes on these figures will be used a lot in conventional wargaming. They're well detailed and in useful poses. In addition you get a MG and Mortar with every sprue. No need to buy additional support units. All you'll need are a few command figures maybe?
I think the grass green base colour will work well with the green side of the playing board.
MG08 crew loaded up with ammunition
The grenadier figure is on a square base so stands out amongst his peers. A good feature.
The Minenwerfer crew supporting their comrades.
Similarly burdened British Vickers team. I particularly like the gunner himself.
The mortar team could easily be adapted to other mortar types by simply scratch building a new mortar tube and legs.
These figures are perfect for 1916-1918 scenarios.
I'd better get the rest done so I can try out the game. I'm afraid I'm a bit anal about using unpainted figures....it's a big NO NO.
 Not the best pictures but hopefully these will give an idea how well detailed they are.
Very pleased with these and I'm looking forwards to see what else PSC bring out......especially those tanks!