E-Mail:

If you enjoyed visiting this blog, please feel free add a comment after the article in question :-)

Search This Blog

Showing posts with label Rommel. Show all posts

Tuesday, 15 May 2018

3D Printed 1:200 German 1940 Army for Rommel

Completed these yesterday. Whilst they are visually OK (passing the two foot rule easily) the quality of some of these prints was not as good as the French Vehicles.


I printed all the AFVs standing on their tracks and then went through the ball ache of removing all the support material afterwards. This was very time consuming and actually damaged much of the track detail on tthe smaller vehicles.


Particularly affected were the Sdkfz 251/Bs and anything on a Pzkfw I chassis. Both these models were 1/100 designs reduced to 1/200 so were trying to cram in detail that wasn't really needed i.e. he sides of the halftracks were undercut leaving them very thin and fragile.


Having said that, a good clean-up, sympathetic paint job and static grass help hide a multitude of sins! I may redo these, when time permits, this time printed on their sides.


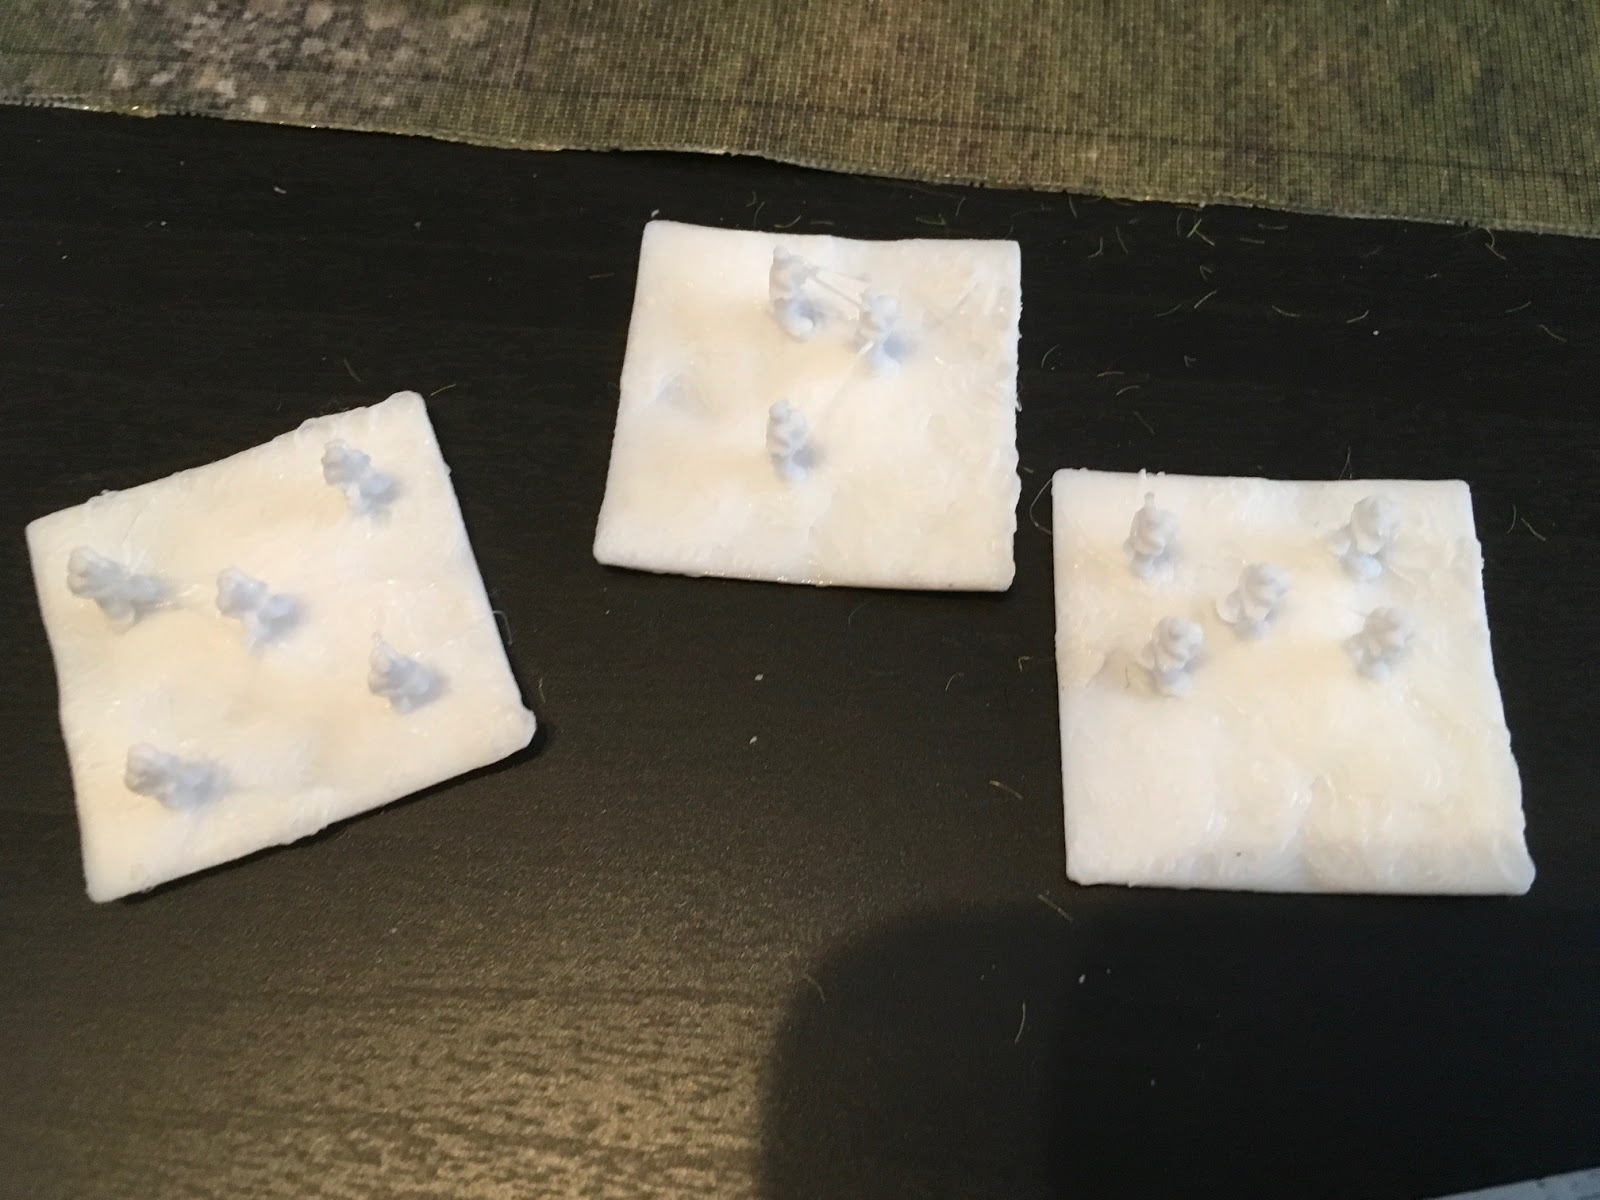
One big success was the "Generic" infantry figure I use. This time I printed them out as single figures on indiviual bases. These worked really well and needed very little cleaning up.


Anyhow, I've ended up with a supported Panzer Division.

  1. Light Battalion 1 - 3 x Pzkfw I 
  2. Light Battalion 2 - 3 x Pzkfw II
  3. Medium Battalion  - 2 x Pzkfw IVD
  4. Armoured Infantry Brigade - 2 battalions each 3 x Sdkfz251/B + Infantry
  5. Motorised Infantry Brigade - 2 battalions each 3 x Opel Blitz + Infantry
  6. Light Howitzer Battery - 1 x 75mm + Kubelwagon*
  7. Anti-Tank Support Battalion - 3 x PanzerJager I
  8. Assault Support Battalion - 3 x Stug III 
*I will add some medium artillery when I find a suitable file to print


Now all I need is the time to try them out against their French opposition.....


Wednesday, 28 March 2018

3D Printed 1:200 French 1940 Army for Rommel

Well after another spell of foreign business travel and my daughter moving into her first house, I've finally found time to write something for the blog.

I set myself the challenge to use my 3D printer to produce two entire armies for Rommel in 1:200 scale.

I have always had an interest in the tank battles of 1940 as the French Army & the BEF tried to stem the German advances, so I decided this would be my target.

Using (Primarily) the .stl files created by Marco Bergman (to be found on Thingiverse, Yeggi etc.) I set about printing off the vehicles I needed (see tables below)

Division Cuirassée de Reserve (DCR)
·         4 Tank Battalions (Each 1 x Char B1 + 1 x H39) 22 pts
·         1 Battalion Dragoon (3 x Mechanised Infantry bases) 7 pts
·         2 Battalions Artillery (1 x 105mm & 1 x 75mm Towed Guns with Lorrainne Carriers) 5 pts
·         Total points = 34

Division Légère Mécanique (DLM)
·         3 Battalions Medium Tanks (Each 2 x S35 Somua) 15 pts
·         3 Battalions Light Tanks (Each 2 x H39) 15 pts
·         3 Battalions Dragoon (Each 3 x Mechanised Infantry bases) 21 pts
·         2 Battalions Artillery (1 x 105mm & 1 x 75mm Towed Guns with Lorrainne Carriers) 5 pts
·         Total points = 56
  
Some of the models had been created in 1:100 (15mm) scale, so were reduced within the Cura Software. I tried to maximise the printing bed area by creating multiple prints in one go. At first I tried this with a raft to aid adherence, but actually found this made things worse. The raft warped and peeled away from the masking tape. I now dispense with the raft and print direct to the masking tape (with Pritt Stick Glue) and all seems to work fine.
 As well as AFVs I decided to try my hand at printing Infantry & Artillery!
 I found a generic infantryman on Tinkercad created at 15mm and reduced him to 10mm high. I then combined 5 of these figures on a 28x28mm square base.  These were firstly printed 6 at once with supporting Renault UE carriers + Trailers. 
I tried incorporating support material (to ensure rifle barrels printed) but at this scale this proved impossible to remove without breaking the figure’s legs.
I next tried printing them without support and all was fine. Ok you cannot see a rifle but at this scale I’m not going to worry. The stringing was removed using a heated craft knife blade.
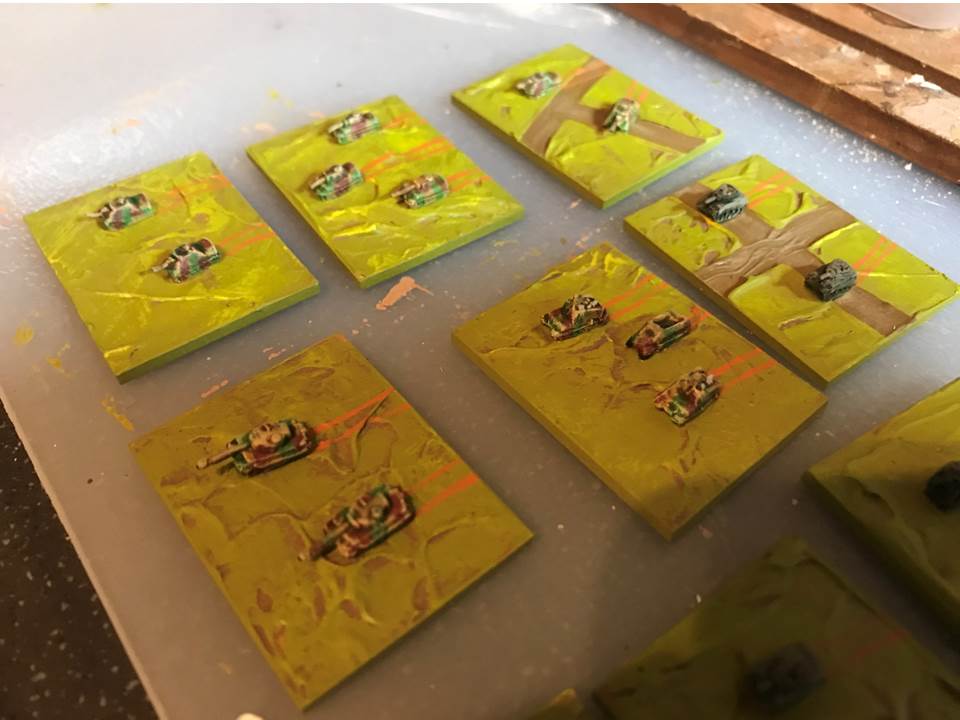
The units will all be based on mdf 30x40mm in size, with the stats along the bottom edge. So when adding sand to the base with PVA glue I left a 10mm strip behind each AFV. 
First result are looking OK. I worked things out that at current Skytrex Action 200 rates, this army would have set me back over £70. The cost in PLA must be a couple of pounds at the very most, but the time taken was probably near to 40 hours!!!
And here they are with their bases flocked and Rommel Stats added. The stats were simply created in PowerPoint - using the Drawing Tools, Format function to create boxes of the desired dimensions. Then printed out and gloss laminated. Final each was cut out carefully with scissors and attached to the base using double sided tape. I think they look pretty good!

Wednesday, 7 March 2018

15mm Tank 3D Printing Frenzy

I've been travelling on business for two weeks and have had little opportunity for modelling or blogging :-(

However when I've been able to grab some time I have been continuing to experiment with my 3D printer.

Firstly I completed my Rommel BUA in 2mm scale. The print was mounted on a 60x60mm mdf laser cut base and then painted, varnished etc. I'm very pleased with this and will certainly print a couple more.


I have expanded my Team Yankee 15mm British forces and have so far completed;-

  • 2 x Chieftain MBTs
  • 5 x FV432 APCs
  • 1 x Striker ATGW
  • 1 x Spartan APC
To match these I've commenced building up my Soviet forces and have printed;-
  • 2 x BTR60PBs
  • 1 x BMP with turrets for both the MkI & II options
In addition I have been experimenting with some 1:200 early war French vehicles to use with Sam Mustafa's Rommel Rules. These can be printed up to 8 at a time with my small printer so work out very economically viable.

Altogether....living the dream!


Friday, 9 February 2018

New Toy - Part One

It arrived earlier this week, now all I need to do is work out how to print tanks with it!!
 When I get it sussed I've created this little beauty to test it out.
Its a 40x40mm built up area (BUA) terrain tile for my 2mm Rommel terrain pieces.

Created in just 10 minutes with Tinkercad!

I'll let you see the finished article when I get one printed (fingers crossed)

Monday, 22 January 2018

Rommel Scenario - "Operation Perch"

As a further taster here’s a draft version of the scenario map.

It’s somewhat stylised to ensure that all the key features of the battle area are included.

The Allied force enters the table and deploys in grid squares A:1- A:5. (Army Cards)

The historical plan for 7th Armoured Division was as follows;-
  • The 4th County of London Yeomanry (Sharpshooters) (4th CLY), with a company of the 1st Battalion Rifle Brigade, was to pass through Villers-Bocage and occupy the highest point of the ridge at Point 213.
  • The 1/7th Queen's Royal Regiment (West Surrey) would follow up and occupy the town and the 5th Royal Tank Regiment (5th RTR) and a company of the Rifle Brigade, were to take high ground at Maisoncelles-Pelvey to the south-west of Villers-Bocage.
  • The 65th Anti-tank Battery of the Norfolk Yeomanry would cover the gap between the 4th CLY and the 5th RTR with 17pdr SP Achilles self-propelled anti-tank guns.
  • The 5th Regiment, Royal Horse Artillery (5th RHA), would follow the rest of the brigade group with its Sexton self-propelled guns.The 5th RHA and the brigade group tactical headquarters were established at Amayé-sur-Seulles
  • The two Hussar regiments were to provide flank protection against the Panzer-Lehr Division and uncover German positions either side of the line of advance
  • The 131st Infantry Brigade, with the 1st Royal Tank Regiment (1st RTR) and the 1/5th and 1/6th Queen's, was to hold Livry as a firm base.

The German Forces will be scattered to the East of the River Seulles.

I haven’t a clue how to do it yet, but will come up with some random system of generating force strengths together with when and where they enter the table. This will be made up of elements of Panzer Lehr, 2nd Panzer Division and of course Wittman’s 101 Heavy Tank Company.

The actual battle lasted two days culminating with 7th Armoured Division withdrawing to a holding position around Amayé-sur-Seulles. This was due to Brigadier “Looney” Hinde deciding to take an overnight stop around Livry following an attempted counter-attack from elements of Panzer Lehr.

For gaming purposes I think the battle will fit into the standard 16 turn game.


Please feel free to pass comment as this plan evolves.

Wednesday, 17 January 2018

Rommel - Scenario "Operation Perch"

 I'm currently putting together a scenario for Sam Mustafa's Rommel Rules.

The action I'm trying to cover is the fighting in the "Caumont Gap" leading up to the famous action at Villers Bocage, between the 7th Armoured  and Panzer Lehr Divisions in June 1944.
I felt that this action was perfect for a fairly standard game of Rommel.
It's early days, but as a taster I thought I'd share the unit cards I've created for the battle.

Unit Cards Operation Perch

These are designed so they print out at 40x40mm you could then laminate them, cut them out and glue to either card or pre-cut mdf bases.

Any comments on these would be appreciated.

Tuesday, 2 January 2018

Rommel 2mm

Found some time to finish off my Rommel Divisions over Xmas. All the Irregular models are now based and have their unit stats attached.

The allied army represents a 1944 Armoured Division (i.e. 7th Armoured) but I have brigades of both Cromwell and M4 Shermans so I can recreate other units if required.  Armoured Infantry bases have the addition of a M5 Half-Track whilst motorised infantry have nothing (I forgot to order trucks!)
 The German army is based on the Panzer Lehr Division of 1944. There is a choice of Tiger I or II bases as support and I have more infantry that should be the case, again to allow me to represent other units when required.
I’m now looking at how I might store these when not in use. I think the whole game lends itself to being highly portable, so will consider this when planning my options…..

Tuesday, 19 December 2017

Rommel 2mm - Reinforcements

Progress is slow but steady on the Irregular Miniatures delivery I received a couple of weeks ago.
All the figures & vehicles have been based and painted and are now awaiting the addition of a bit of clump foliage to represent trees and bushes.
I've created Allied & Axis supply tiles. I chose the hexagonal mdf bases (50mm) so they stand out on the table and do not get confused with fighting units. Each contains a selection of tents, fuel tankers, tank transporters, spare vehicle models and an anti-aircraft gun emplacement. I'm quite pleased with how these have turned out. It was a shame that one of the AA emplacements (on the left hand base) was miscast, but once painted you don't really notice.
Whilst I was at it, I created an airborne landing marker using the new Irregular Miniatures Horsa Glider model (60p each). I know it's not actually a requirement of the rules, but I thought it would be nice to indicate landing zones in any D-Day type games. I will need to produce a few more, but again, I'm pleased with the prototype.
These are my Allied Armoured Infantry - indicated by the addition of an M3 Half-Track per base. The right hand base is a 25 Pounder Battery.
Up until now, my Allied Armour consisted only of Cromwell tanks. Now I have the choice of a Sherman equipped brigade as well.
I've also added some Achilles Tank Destroyers (3 bases each with two models to differentiate them from tank bases), additional Cromwells to make up a full brigade and a Sexton battery (well M3 Priests really).
Finally I bolstered the Panzer Lehr Division with additional Panzerjager bases (2 x Jagdpanthers per base), a Tiger I platoon (nearest the camera) and a self-propelled artillery battery (2 x Wespe + Sdkfz251 Half-Track).

As well as this I've two more BUAs nearly finished and I added an Sdkfz251 to every Axis infantry base to indicate that they are all armoured.

Each base has had a sheet of self-adhesive ferrous paper attached ready to receive a magnetic data label. Hopefully by Xmas these will be ready to venture out onto the table.

'til next time....

Friday, 8 December 2017

Rommel 2mm - Reinforcements

Whoopee....reinforcements have arrived from Irregular Miniatures!
Oodles of 2mm goodness.......
I've ordered a "Town/Suburb" and "Riverside town" terrain pieces to make two new BUA terrain tiles (each 60x60mm) which you can see to the right, top corner of the picture. These come in at a whopping £2.40 each, but make the production of the tiles simplicity itself. All I need to do is smooth around the edges with a bit of acrylic modelling paste, to blend the castings in, and they'll be ready to paint.
A mixture of Sherman, M10 Tank Destroyer & M7 Priest models ready for priming
I've also ordered sufficient miniatures from Irregular's range to build my Rommel forces up to Divisional strength. I will now be able to field a 1944 British Armoured Division with either Sherman or Cromwell as their main AFV (modeled on the Guards & 7th Armoured Divisions) and a 1944 Panzer Division (modeled on Panzer Lehr & 12th SS Panzer Division Hitlerjungend)
I've been knocking together some organisation tables to help me remember who is in which element using colour coding that I'll then apply to the base tags. This is an early draft, but you'll get the drift.

I'd better get on with painting these little beauties up.....

Monday, 4 December 2017

Rommel 2mm - AAR Encounter Battle part one.

Time to try the rules out in anger for the first time….solo.

I opted to go for Scenario 3 in the book – Encounter. 
 This is a simple battle, length ways (narrow edge to narrow edge) across the table. Both sides have two objectives each and to win must control at least 3 objectives by the end of the 12th turn.

Before beginning, both forces are divided in half and one half deploys in the first three rows whilst the other is held in reserve. The reserves get to come on when a combined score on 2D6 rolled at the end of a turn, is less that the number turn you are on.

I used what forces I have – so probably smaller armies than the scenario required. The British force was 52 points and the German 62 points. This exercise was more about trying out the rule mechanisms and learning how the game plays, than replaying a historically accurate event.

I diced for the terrain and laid it out in as balanced a way as I could, either side of a centrally placed river with 6 crossing points.
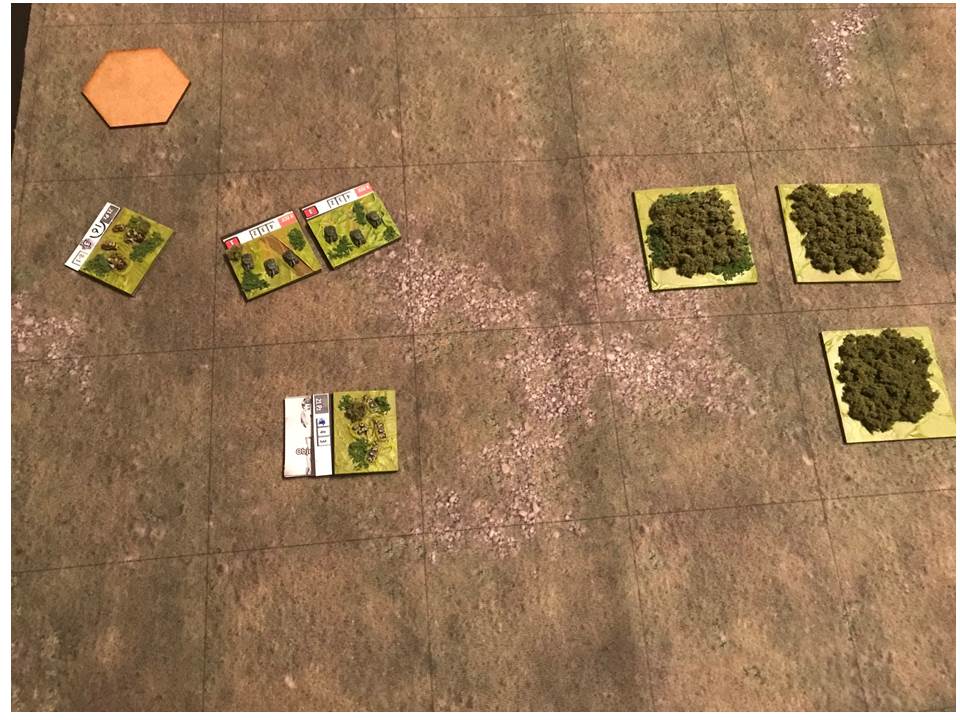
Once the terrain was set I deployed the two armies and I was ready to go. Starting positions were as per the photograph below.
TURN 1: The Brits won the dice-off for for first move and opted for a swift right flanking move with a small battlegroup (top right corner) intending to take out the nearest German held objective (top left corner).

Two Ops bought me a road movement of 6 squares, crossing the bridge along the way. To delay any attack on the British objective (bottom right corner), the armoured unit supporting the holding infantry company, advanced two squares to the bocage area to their front.
TURN 2: The Germans also spent 2 Ops and advanced via road movement to cross the river just to the front of the defending British armoured unit. Here they waited (tipped)  for infantry support to catch up.
TURN 3: Saw the British right flank advance come to fruition with a successful flanking assault on the German dug-in Company at Objective 1. I'd found the mechanisms for combat to be simple to learn and the QRS contains just about all you need to play. I do find it helpful to have a pen and paper handy to work out the opposing combat factors though!
TURN 4: The German Panzergruppe was now ready to pounce. They moved into the attack against the British Armour and although they were tipped and at a disadvantage they succeeded in causing enough hits to  destroy them. This was largely at the cost of spending a large number of Ops on a 2nd round of tactics and then paying for shifts in the number of hits to ensure success.
TURN 5: Having left an Infantry Company behind to hold Objective 1, the British armoured units advanced across the table (Behind enemy lines but not isolated) and prepared to assault the second German Objective.
Once again the objective fell reasonably easily even though the armoured units were tipped. The flanking attack + out-numbering made all the difference! As you can see from the picture, the German artiller was still tipped from supporting the previous turn's attack, so couldn't support the objective.

So at the end of turn 5 the British forces held all 4 objectives, but the Germans were closing in on the 1st British position.
Things were looking Ok for the German forces until the British rolled an 1 and a 3 at the end of turn 5....allowing their reinforcements to deploy in the first row of the British table edge.........

I'm sure I'd probably missed some things in those first few moves, but the rules are very straight forward. The use of Ops to buy events and tactics gives you plenty to think about along the way. Do you just keep buying and taking your 6 (hopefully) new Ops each turn? or do you take a chance and reset the Command Post to free up the most useful Ops again but risk not having enough Ops to pay for them....what a conundrum! Loving it!!

To be continued.

Thursday, 30 November 2017

Rommel 2mm

Nearly there! Almost finished all the terrain pieces I think I need to get started.

So far I've finished the following;-

  • 12 x Hills/Mountains
  • 12 x Bocage tiles
  • 12 x Wood/Forest Tiles
  • 10 x Swamp/soft going tiles
  • 1 x Built Up Area (BUA) tile with a small town (scratch built)
  • 1 x BUA tile with Irregular Small Village + Bocage
From a distance the BUA tile looks OK, but took a lot of fiddling to complete. The buildings are a mixture of 5mm Foamex Board and square section Plastruct together with artists modelling paste, sand and PVA. I think I need at least two more of these so I've ordered a couple of town terrain pieces from Irregular Miniatures to speed things up.
I thought I might get away with their village terrain piece as a BUA, but you can see from the above that its hard to tell the standard Bocage tiles and the village tile apart.
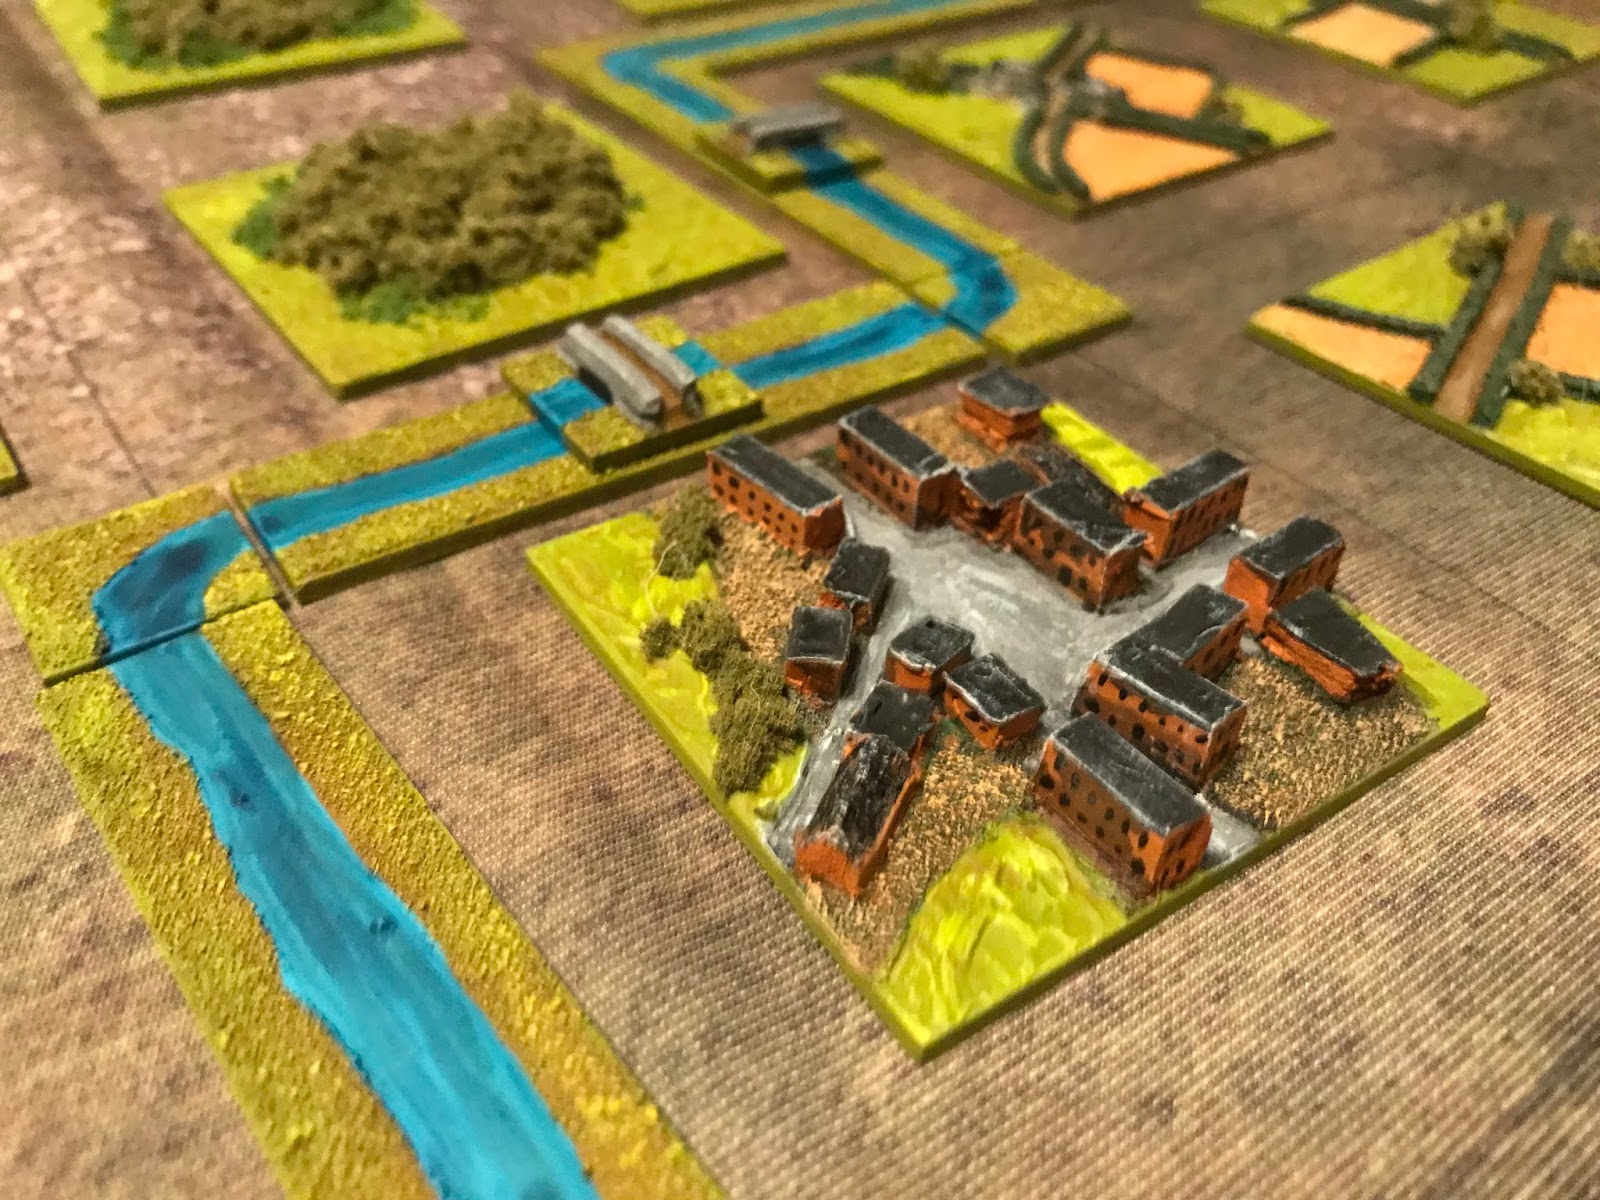
You'll see that I've also finished the river sections I spoke of. These have come out quite well, though I say so myself! 

Simply fine sand glued with PVA to create the two banks. Then sprayed Leather Brown before a rough dry brush of Vallejo Game Colour Camouflage Green. When dry, a light dry brush with yellow before painting the river in a Citadel Turquoise Blue. When dry this is given a coat of Army Painter Blue Wash before spray varnishing.

In total there are;-
  • 12 x 100mm lengths
  • 5 x 90mm lengths
  • 5 x 80mm lengths
  • 6 x bends on 20x20mm bases
  • 6 bridges on 20x20mm bases
The latter were scratch built using self-adhesive craft foam from Hobbycraft.
Finally I've finished 7 x Coastal Defence prepared positions.
These are all on 80x20mm bases so they can fit in a grid square along with any of my terrain features. These are also scratch built using self-adhesive craft foam from Hobbycraft, 5mm foamex board and artist modelling paste. Finished with some PVA and fine sand before priming with Army Painter Leather Brown.

I'm finally ready to try out a solo scenario to get to learn the rules. More on this soon.....