The inner areas were then carefully masked before spraying the exterior with Vallejo Air 71.043 – US Olive Drab. A new innovation for me here, I printed up a couple of stencils the diameter of the road wheels and idler/drive sprockets so after spraying the entire track unit in a Dark Grey, I could pick out the individual wheels in Olive Drab without over spraying the track!
At this point I painted in red the areas where the vehicle had been “cut” open.
With all the parts painted it was time to assemble it all together (less the hull top) ready for final weathering and basing. Before I did this everything had a coat of AK Ultra Matt Lucky Varnish to blend everything together.
I drew up & 3D printed a base and armature once again to display the AFV with its hull top off and the ground-deployed mortar with crew figures to its front. The base portion took 4.5 hours to print!
It took me a couple of goes to get the armatures how I liked them, before I assembled the display stand with super glue. I textured the area of the AFV mount with Vallejo Pumice and painted it a reddy brown craft paint to simulate the red earth in Vietnam. Once dry this was masked and the stand sprayed gloss black with a rattle can.
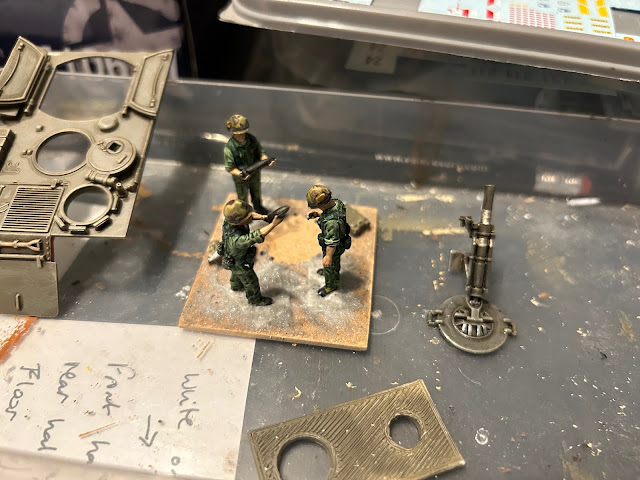
The deployed mortar and crew were mounted on a 2mm MDF base so they can be removed from the stand for transporting it. The base was textured and finished as per the main base. As well as the three crew figures there were two mortar round and two ammunition crates that were added for effect.
To blend the finished models into their bases I used some AK Red Earth pigment which did a fantastic job of giving the vehicles a well-worn look.
The vehicle and it’s roof panel were secured to the base and armature with Blu-tac to facilitate disassembly for transit to shows etc.
And there you are. One M106A1 completed.
I’m very pleased with the end results and impressed with what a fantastic kit this is. All that detail, figures, options, decals etc. for just £20!! Bargain.


No comments:
Post a Comment