Ok, so I know its not really wargaming related, but I thought it was worth posting anyway 😊.
For my birthday (way back in July!) my wife bought me the
Revell 1/144th Type XXI U-Boat kit that has interior detail.
This is a relatively straight forward kit with sufficient detail to pass muster and I had in mind to try and build it with interior LED lighting to show off the work inside.
To do this I had what I considered a brain-wave! I bought a cheap set of battery operated LED Christmas Lights from Wilko's which I planned to cut down to suit. To cover the large outer surface area quickly and simply, I bought a cheap can of Grey Primer from Poundland, which I tried on some sprue to check first if it was plastic friendly....which it was 😁
 |
| There is some moulded detail on the inside surfaces of the hull halves too. Both inner faces were sprayed white primer. |
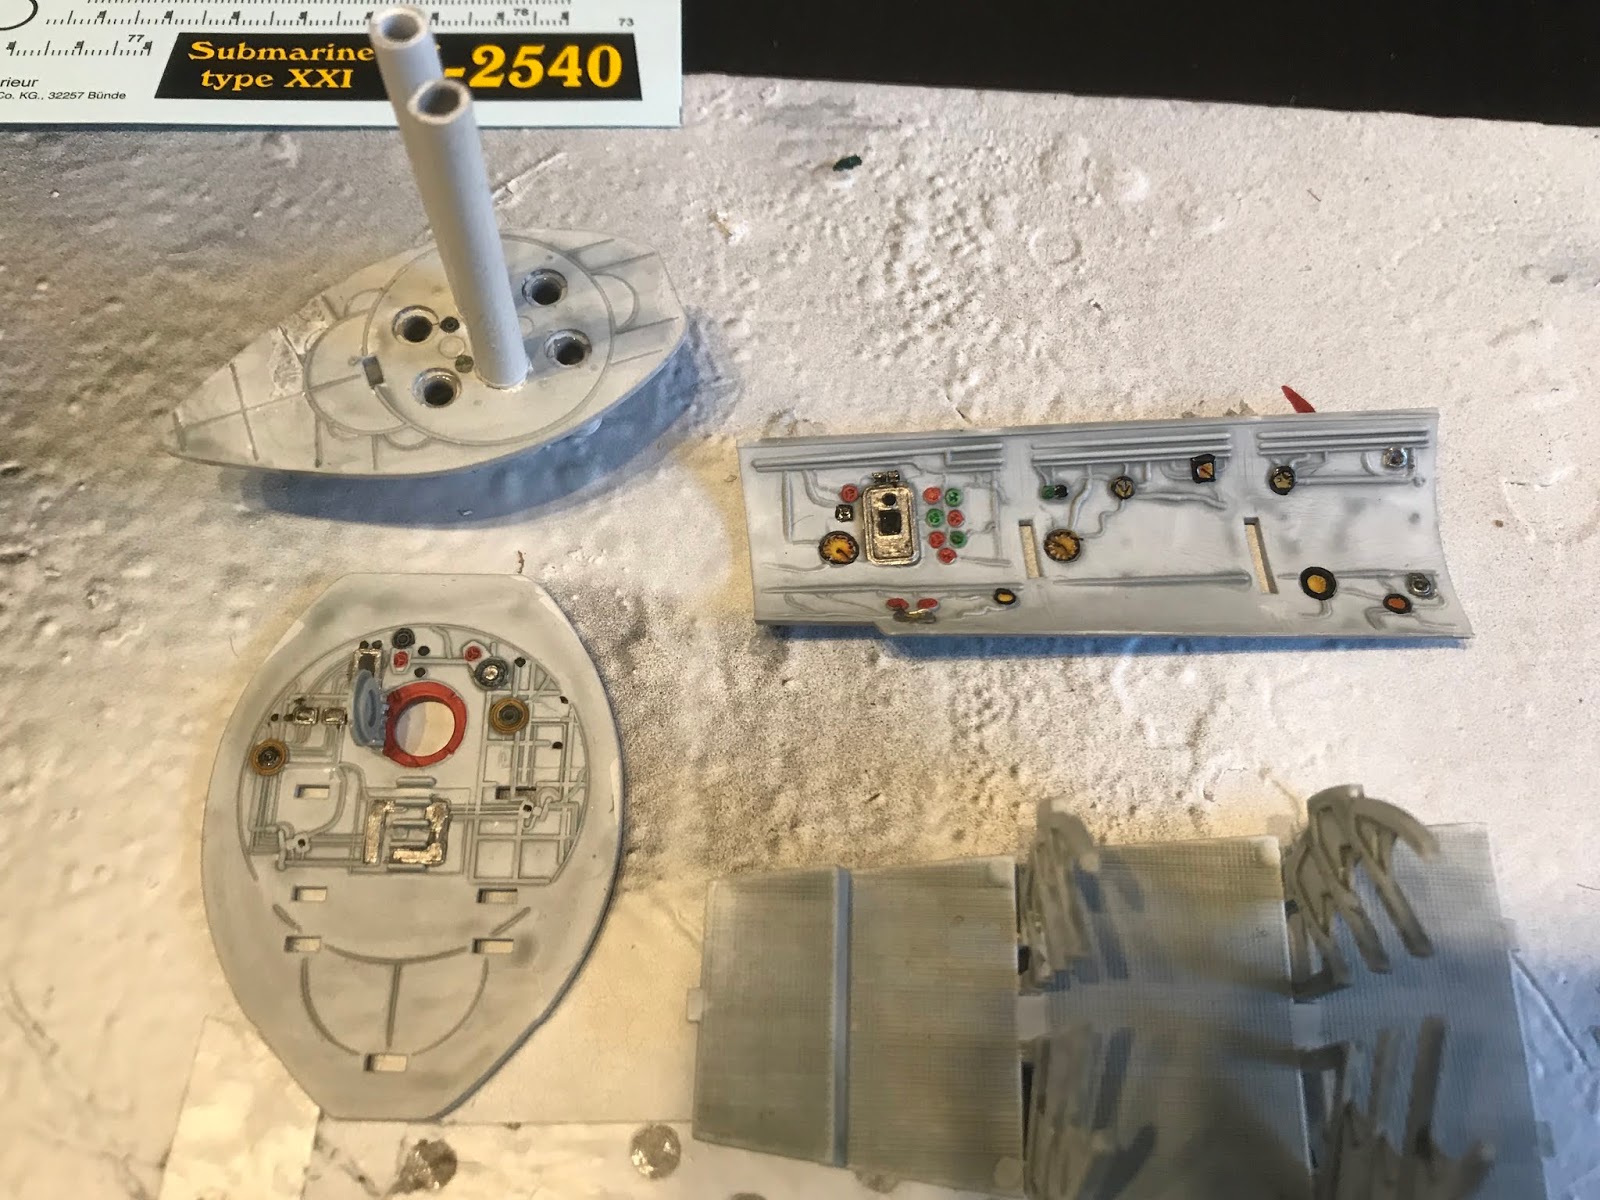
Assembly is broken down into 30+ steps. Starting with the interior from the torpedo tubes working back to the engine room.The walls of the various subsections all have a lot of finely moulded details of gauges, pipes etc. The model includes neatly printed decals to attach to these, but I opted to hand paint these as they decals look a little 2D when applied.
 |
| Interior parts were also sprayed white to start off with. |
 |
| The decal sheet and hand painted bulk heads mirroring the decal colour scheme |
 |
| Close up of interior bulkheads |
The interior parts were all sprayed white on the sprue and shaded using the new Apothecary White Contrast Paint before these details were added.
 |
| Close up of some hand painted interior detail |
Finally when all the interior is finished, you encase it within the two hull halves and add the conning tower.
 |
| Conning tower interior |
 |
| Coning tower itself |
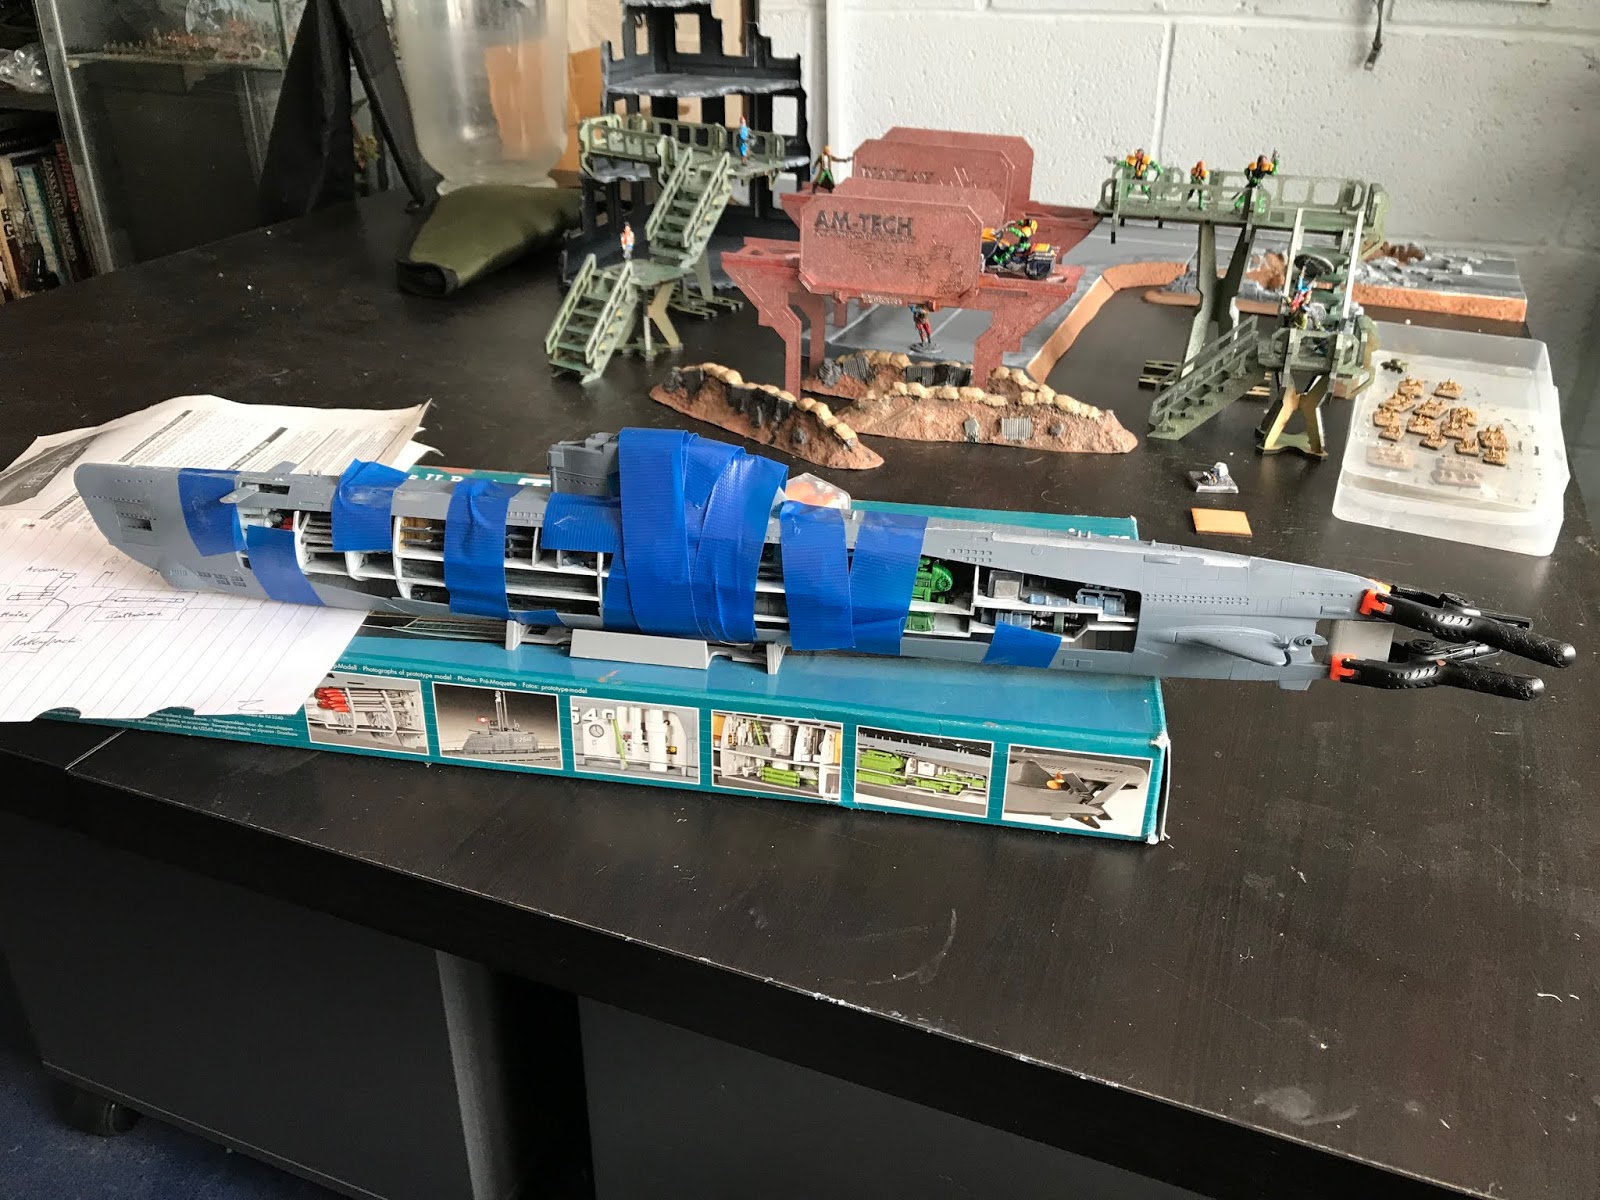
This is where I've got to. The outer hull is complete and has now to be painted. Really the model needs hand rails adding from wire /stretched sprue along the hull edges, but I haven't the time or inclination, so I think I will leave this.
 |
| As each section of interior is finished it is added to the rest of the sections, building up and entire section of U-Boat interior. |
Hopefully in the next few days I will finally finish the model and post some more pictures.
 |
| The two hull parts are difficult to fit together and needed to be held over-night to dry |
 |
| Here you can see the LEDs switched on! |
 |
| Completed U-Boat just awaiting outer hull finishing. |
Further progress can be seen here:-
https://www.blogger.com/blogger.g?blogID=8202950016349004277#editor/target=post;postID=6295294259676548422;onPublishedMenu=allposts;onClosedMenu=allposts;postNum=0;src=postname


Too carefull for US!
ReplyDeleteBravo, beautifull!
:-)