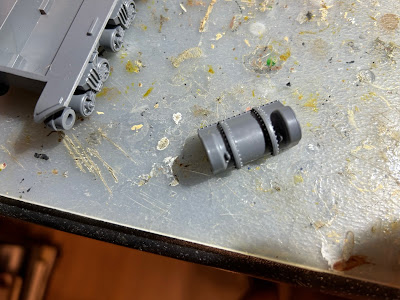
Always a sucker for a new boxed set, I recently treated myself to the Achtung Panzer starter set.
I think what really attracted me was the value for money this presented. Without taking the gaming rules, cards, tokens, dice etc. into account, you get three 28mm Shermans, 2 Panthers, 2 ruined farmhouses and a bunch of cast storage items all for £80 (discounted price from Wayland games, including delivery!).
I’m attending the IPMS North Somerset Model Show this coming weekend and wanted to display some 28mm wargames AFVs on the MAFVA South Wales stand. I already have a selection of allied vehicles but no Sherman, so I thought I’d better get one built quickly to take with me!
 |
| Assembly of the hull couldn't be easier as the suspension units are all moulded to the sides. |
I decided to assemble the Warlord Games Firefly model – not one of their co-operations with Italeri.
 |
| Beware of the two towing hooks that are fed through slots from the back of the transmission housing. These slots can also be used to attach the hedgerow device included with the kit. |
The parts come on three sprues – whilst the tracks are two separate lengths per side, the running gear is already assembled for you – so I anticipated a quick and simple build.
The instructions are printed in a “getting started” type document that comes in the box and are somewhat basic. I think for beginners a little too basic? There are one or two small parts that it’s unclear where they go i.e. the front towing connections and the lefthand side siren (for which there was no location hole)
 |
| You can see where the sprue has been cut off the turret. Take care not to damage the applique armour panel |
However, the build is certainly quick. I opted to leave off the tracks until after painting. I was also toying with the idea of fitting the sand shields too. When I checked through all my sources I couldn’t find any pictures of Fireflies in Normandy with them fitted, in fact the only pictures I found were of the prototype, so I changed my mind and left them off.
There are two options for vehicle commander, both half figures and quite nicely sculpted. If you had any suitable head & shoulders figures you could add them to the driver’s & co-driver’s positions as the hatches are separate here too.
There is some basic stowage included – spare track links, roadwheels and a jerry can.
The sprue connections to the turret are in unfortunate positions and you need some careful removal and clean-up to avoid damage to the applique armour panel. The pioneer tools are all moulded in place, as is the tow cable. Whilst not highly detailed they are correct and with careful painting/highlighting don’t look to bad at all.
I attached a piece of sprue to the underside of the hull to help hold the model while spraying etc.
I airbrushed the whole vehicle with Vallejo Russian Green before I added the decals.
The decals were for a specific tank from the Sherwood Rangers and are of good quality. I used a decal fixer and softener from Vallejo for only the second time and was impressed with the results. The large allied star on the rear deck had to cover the moulded on barrel lock and the softener did its job perfectly.
I then followed
up by weathering with Army Painter Dark Tone in all the crevices etc. then
finally a dry brush overall with Vallejo Iraqi Sand.
The tracks were sprayed Army Painter Plate Armour before washing with Vallejo black wash. Once dry they received a further wash of Vallejo Flesh Wash mixed with Contrast Orange paint (to give the rusty look) and finally the high points were dry brushed silver.
Finally, I added the tracks, touched up the joins and then gave the vehicle an overall coat of Matt varnish.
I’m pleased with the finished model. Simple to construct, robust when handled and a good likeness of the real vehicle.


No comments:
Post a Comment