First inspired to collect 15mm WW2 Russians by the release of the PSC T34's and Infantry almost a year ago to the day, I'm now looking for what I can add to my force for use in either Crossfire or BKC II.
Visiting Smoggycon back in November, I was pleasantly surprised to see how many traders were carrying stocks of Zvezda and PSC 15mm products.
This was my first chance to examine many of the Zvezda range as our local Model Shop sells out too quickly! I wanted some KV1's to give me a heavy tank option and I found one stockist selling them for just £2.50 a piece.
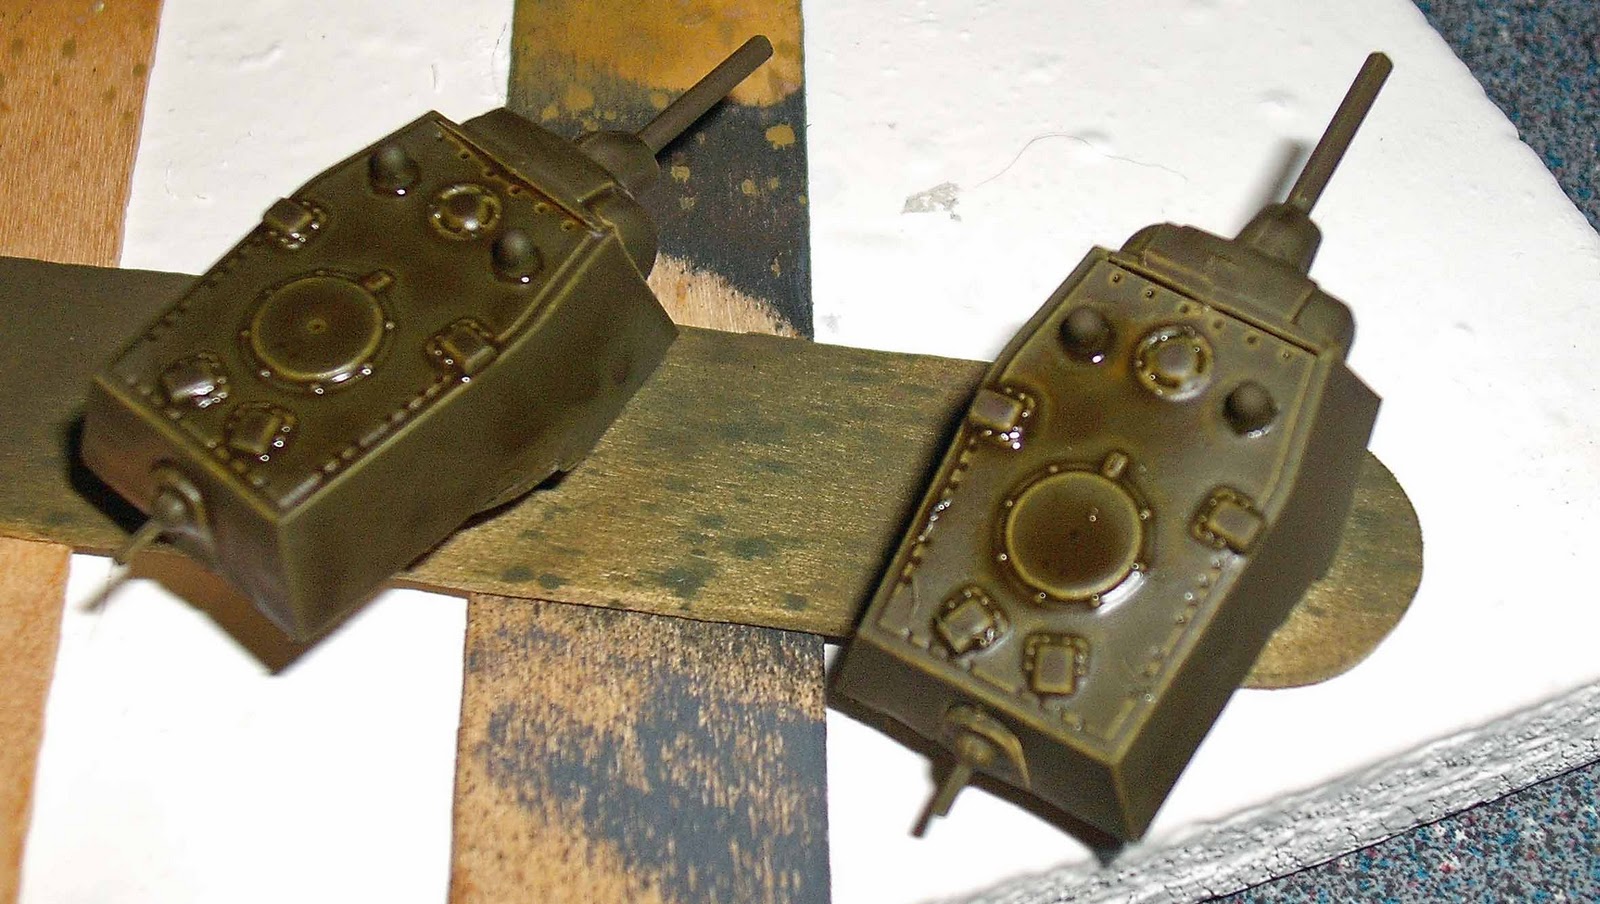
The box contains the usual Art of Tactic data card and a sheet warning 3 year olds not to eat the small bits - the model itself moulded on two sprues in green flexible plastic.
The kit actually comprises just 6 parts (if you discount the Art of tactic flag) and will snap together without glue if required. As I've noted previously, you cannot sand or file this material successfully. The best way is to clip the parts from the sprue as tidily as you can, and then trim any excess plastic (carefully) with a very sharp knife.
Assembly really is a breeze. I fitted the top & bottom hull parts together first (I used some glue just to be sure). Doing this forms the location holes for the suspension unit to be attached. The suspension units are moulded in one piece with the characteristic track sag - but lacking the track tread detail some wargamers might wish for. At tabletop distances I don't think this is important, but it may be to some. The drive sprocket has a hole to receive the locating pin you can see on the hull side above, so there's no risk of putting these on the wrong way around!
Once assembled it's an impressive model. The FiB Russian HMG crew make it appear on the small side, but this is the camera angle I'm afraid. In the flesh it looks just fine.
I'd bought three of these in total (
+ a BT5) so finished them together in my usual style. First sprayed with Vallejo Russian Green.
Then, when dry, sprayed with slightly diluted Vallejo Sepia Wash which settles in the recesses.
When this has dried the models are heavily drybrushed with Russian Green plus a little white.
The tracks were painted Dark Grey, then washed with Vallejo Fleshtone Wash to simulate rusting. Then finally the whole model is lightly drybrushed with Vallejo Buff.
The bases are mdf from Warbases. Coated in Vallejo Grey Pumice to start off with. Then when dry, painted in "Anita's" Earth Brown Acrylic paint and finally drybrushed Buff.
Finally, to protect the model when handling, it was sprayed with GW Purity Seal. This dries with a slight sheen, so it was then oversprayed with Army Painter Matt Varnish.
The last step was to add a little static grass around the base for effect. The markings represent a heavy tank battalion and were hand painted. The white stripe on teh turret is a widely used Soviet aircraft recognition marking.
Conclusions
Pro's
- Value for money
- Simplicity of assembly
Con's
- I don't like the material these are made from much.....
- Major surgery to add a commander figure
- Track outer detail a little over simplified for some
Minor gripes really. How can you argue? A troop of three Russian Heavies for only £7.50? It would cost you at least that much for one resin example from you know who!
Thoroughly Recommended.


No comments:
Post a Comment