E-Mail:

If you enjoyed visiting this blog, please feel free add a comment after the article in question :-)

Search This Blog

Showing posts with label FOW. Show all posts

Monday, 6 April 2020

15mm Terrace Houses

Another terrain item in my drawer was an mdf kit for a terrace of three houses I'd bought at Colours way back in 2017!

Beginning the painting process.
Sadly, to my shame, I cannot tell you who made this, but I remember being impressed by the finished items on the stall which led me to make the purchase.


At the time, I thought their approach was novel as they included a laser etched sheet of card (pre-cut to size) to simulate the slated roof. Today this is quite a common approach, but not then.

Painted parts ready for assembly. Just need the mdf frames adding first. My little helper making an appearance once again.
The model was straight forward to build and makes into a one-piece building -  that is no removable roof to allow figures to be placed inside - although the bottom is open so you could place the whole model over figures if you wished. The model is mounted on a nice base that represents a stone slab pavement.

Held together with rubber bands while the PVA glue dries overnight.
Unusually there are separate mdf window and door frames to add to the outside of the building. These stand a little more proud than the real items might, but they do add to the three dimensional look of the item. Sadly. one round frame was missing...too late to do anything about that...should have built it earlier!

The double-sided tape applied, before removing the backing paper. Edges trimmed with very sharp scalpel.
The etched detail (brickwork, frames, doors etc.) are nicely rendered and give two alternative looks to the building - on one side the windows & doors are of a more modern design that the other.

The etched roofing card added.
The card slated roof was attached using double-sided tape. The first time I've tried this and it went extremely well. The card sticks down smoothly and evenly and is ready to be painted straight away.
Roof painted and dry-brushed and mdf chimneys added. This is what I call the more modern looking frontage.
The whole model comes un-painted and I opted to do the majority of finishing prior to assembly which I think was the best approach.

This is the other side, which I think gives a perhaps more dated look? Note missing circular frame in the centre.
Finished, the building looks great, another addition to my 15mm terrain piece box!

Next projects.....15mm Normandy Terrain - Part Two

These are now finished. The ten telegraph poles were firstly sprayed black, and then dry-brushed light grey. The supports for the wires were picked out in dark cam brown and the insulators in Iraqi sand. The base was finished off with a coat of brown craft paint and some static grass.


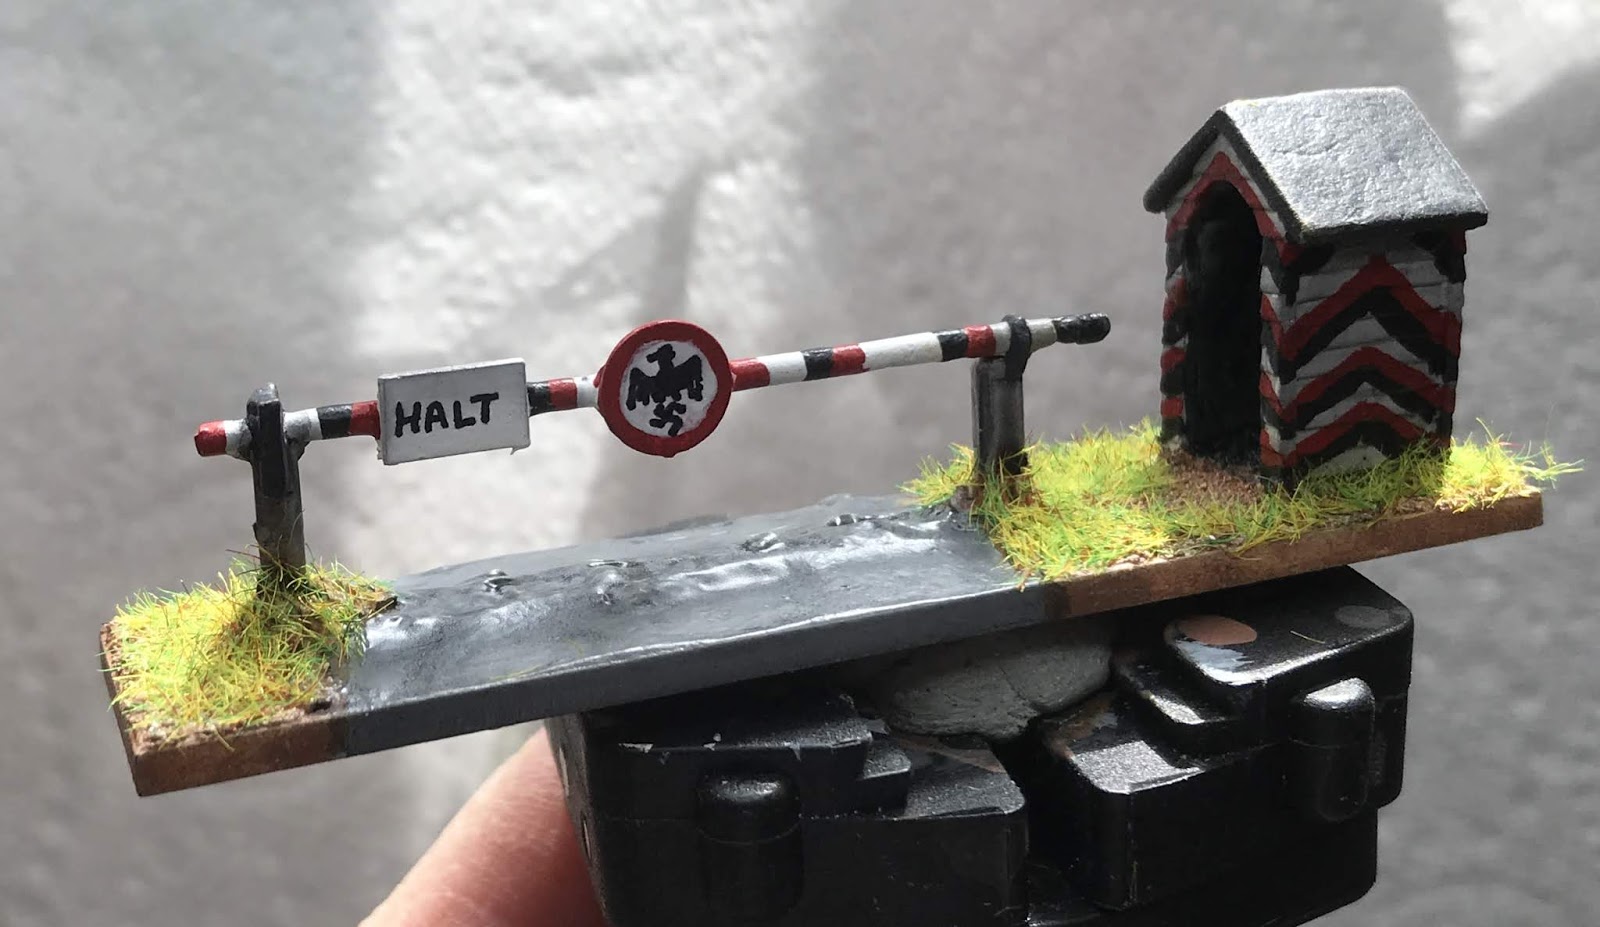
The sentry box and barrier were painted up as per examples I found on line.  The zig-zag pattern is eye-catching and a little challenging free-hand! The lettering on the barrier was simply hand drawn with a fine permanent marker pen, as was the eagle logo.

The sandbagged barrier and brazier were finished off largely with Skeleton Horde & Black Templar Contrast paints. Both the above had the ground work finished off with brown craft paint and static grass.


To pimp up the rather basic Warbases ruin. I firstly glued some randomly cut pieces of foam rubber (from a figure blister) into the corners to form the basis of rubble piles.


Then these were covered with an artist's textured paste I bought some years ago from Lidls. This is quite course, with fragments of texture 2mm in length which give a good impression of scale rubble.


Once dry I added a few matchstick timbers to the rubble piles and, when dry, sprayed the whole thing matt black.


Once this was thoroughly dry, I dry-brushed all surfaces with light grey acrylic craft paint.


Then this was followed with a very light dry-brushing of white acrylic paint. The timbers were dry-brushed light brown.


And that was the item finished. This still allows bases to be placed inside the building, but I now looks a little more realistic. Useful for any modern scenario WW1 to present day.


Thursday, 13 June 2019

1/100 Zvezda Jagdpanther - Build Review

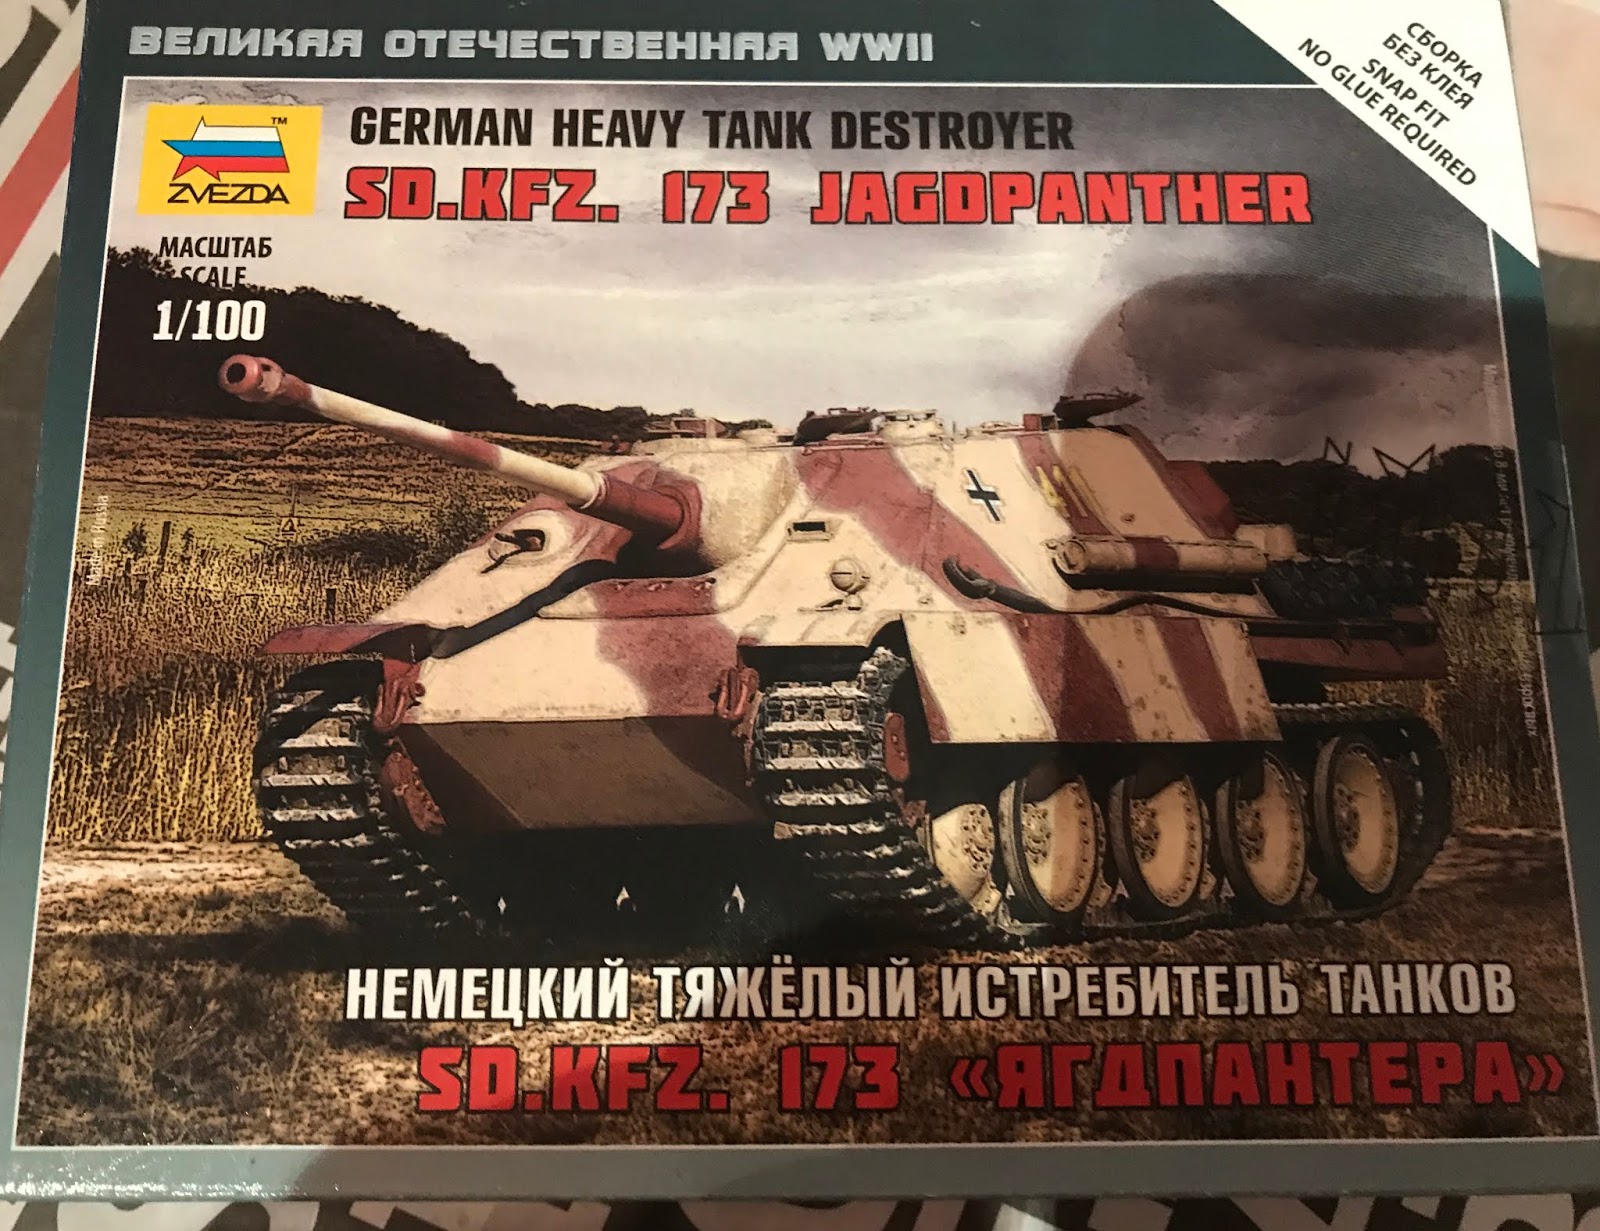
Final instalment for now is the Jagdpanther in 15mm. One of the most attractive AFVs from WW2 in my humble opinion and except for the Battlefront example that came with the GF9 Tanks game, another vehicle I'd like to have in my collection.


Two sides of instructions...only side two shown here

Two sprues containing all the parts

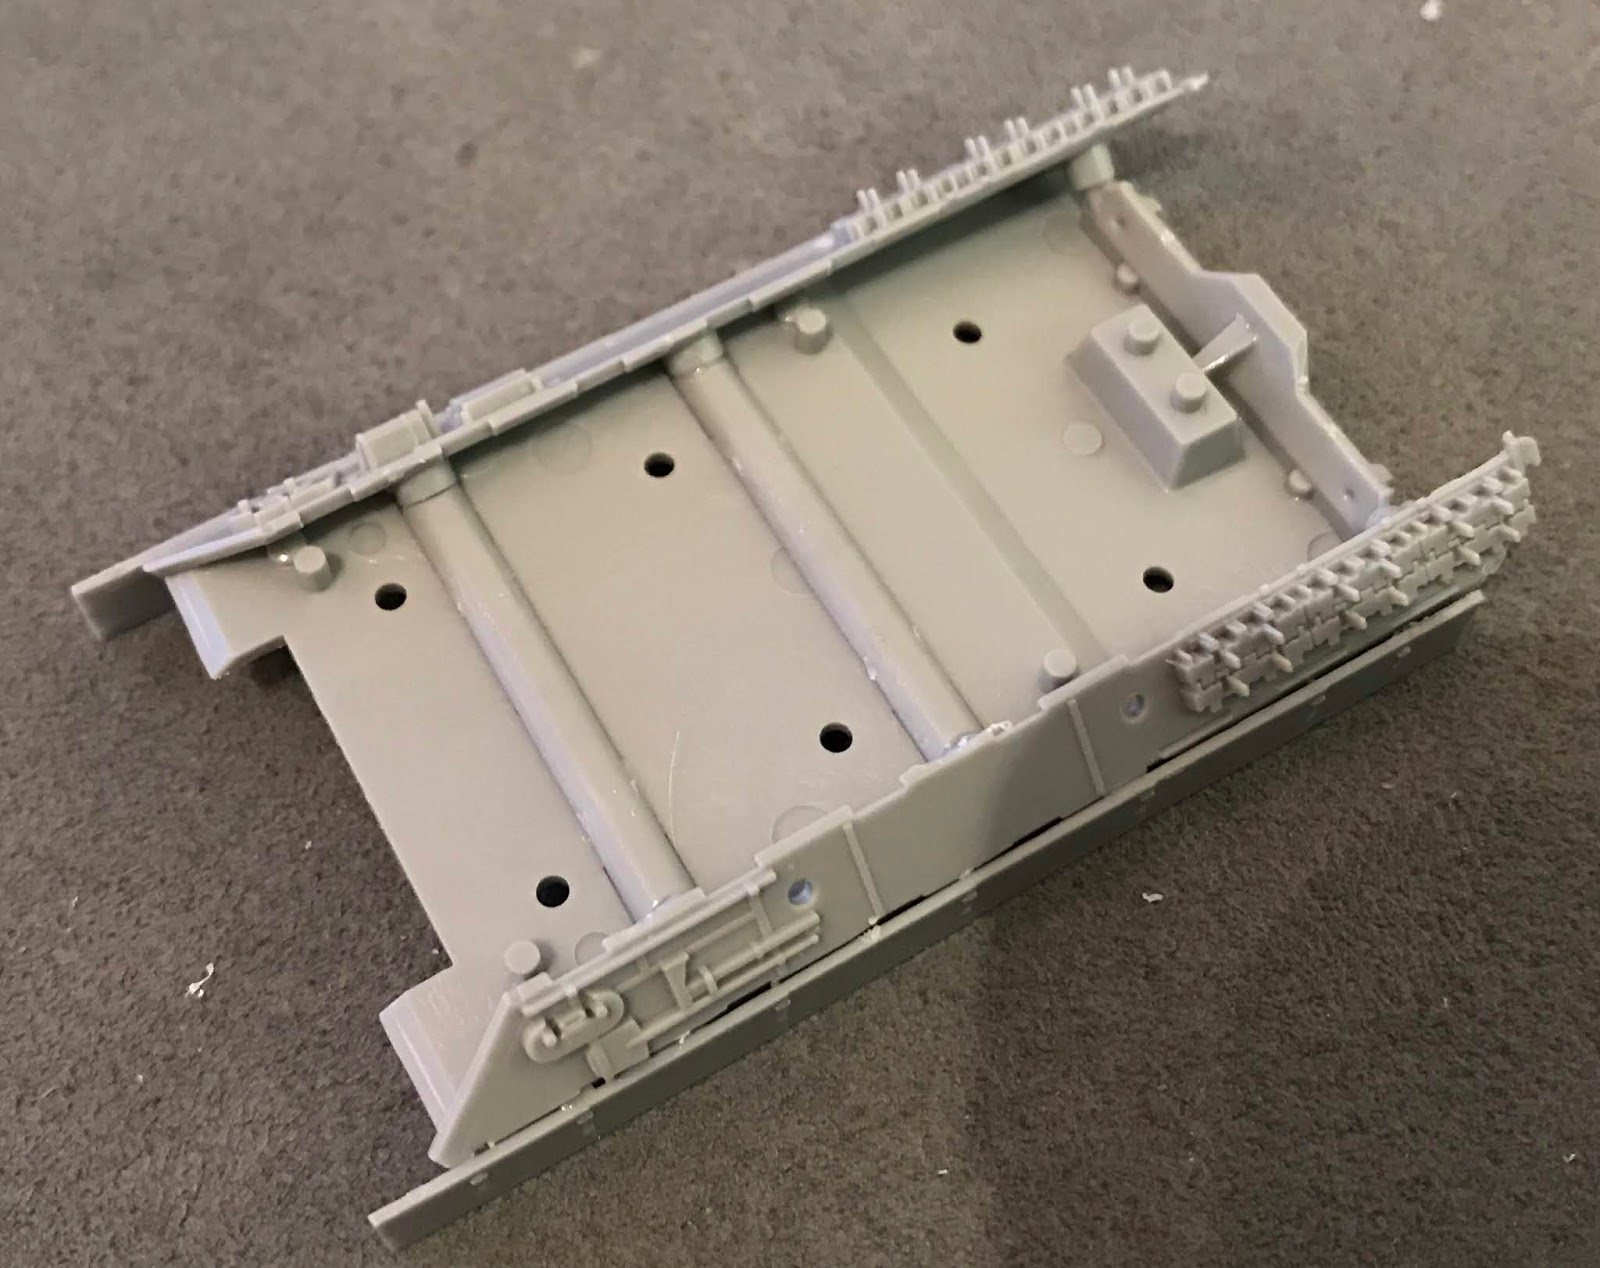
Starting with the lower hull and the various support frames

Build up to look like this....Yes really!

Add the track units to the side walls and glue them to the side facing studs of the lower frame.

You're now ready to assemble the body of the vehicle.

Start with the two hull sides

Then the Glacis Plate, followed by the roof & engine deck

Finally add the fighting compartment rear wall and the engine compartment rear panel. Add to this the exhaust pipes and the hull MG

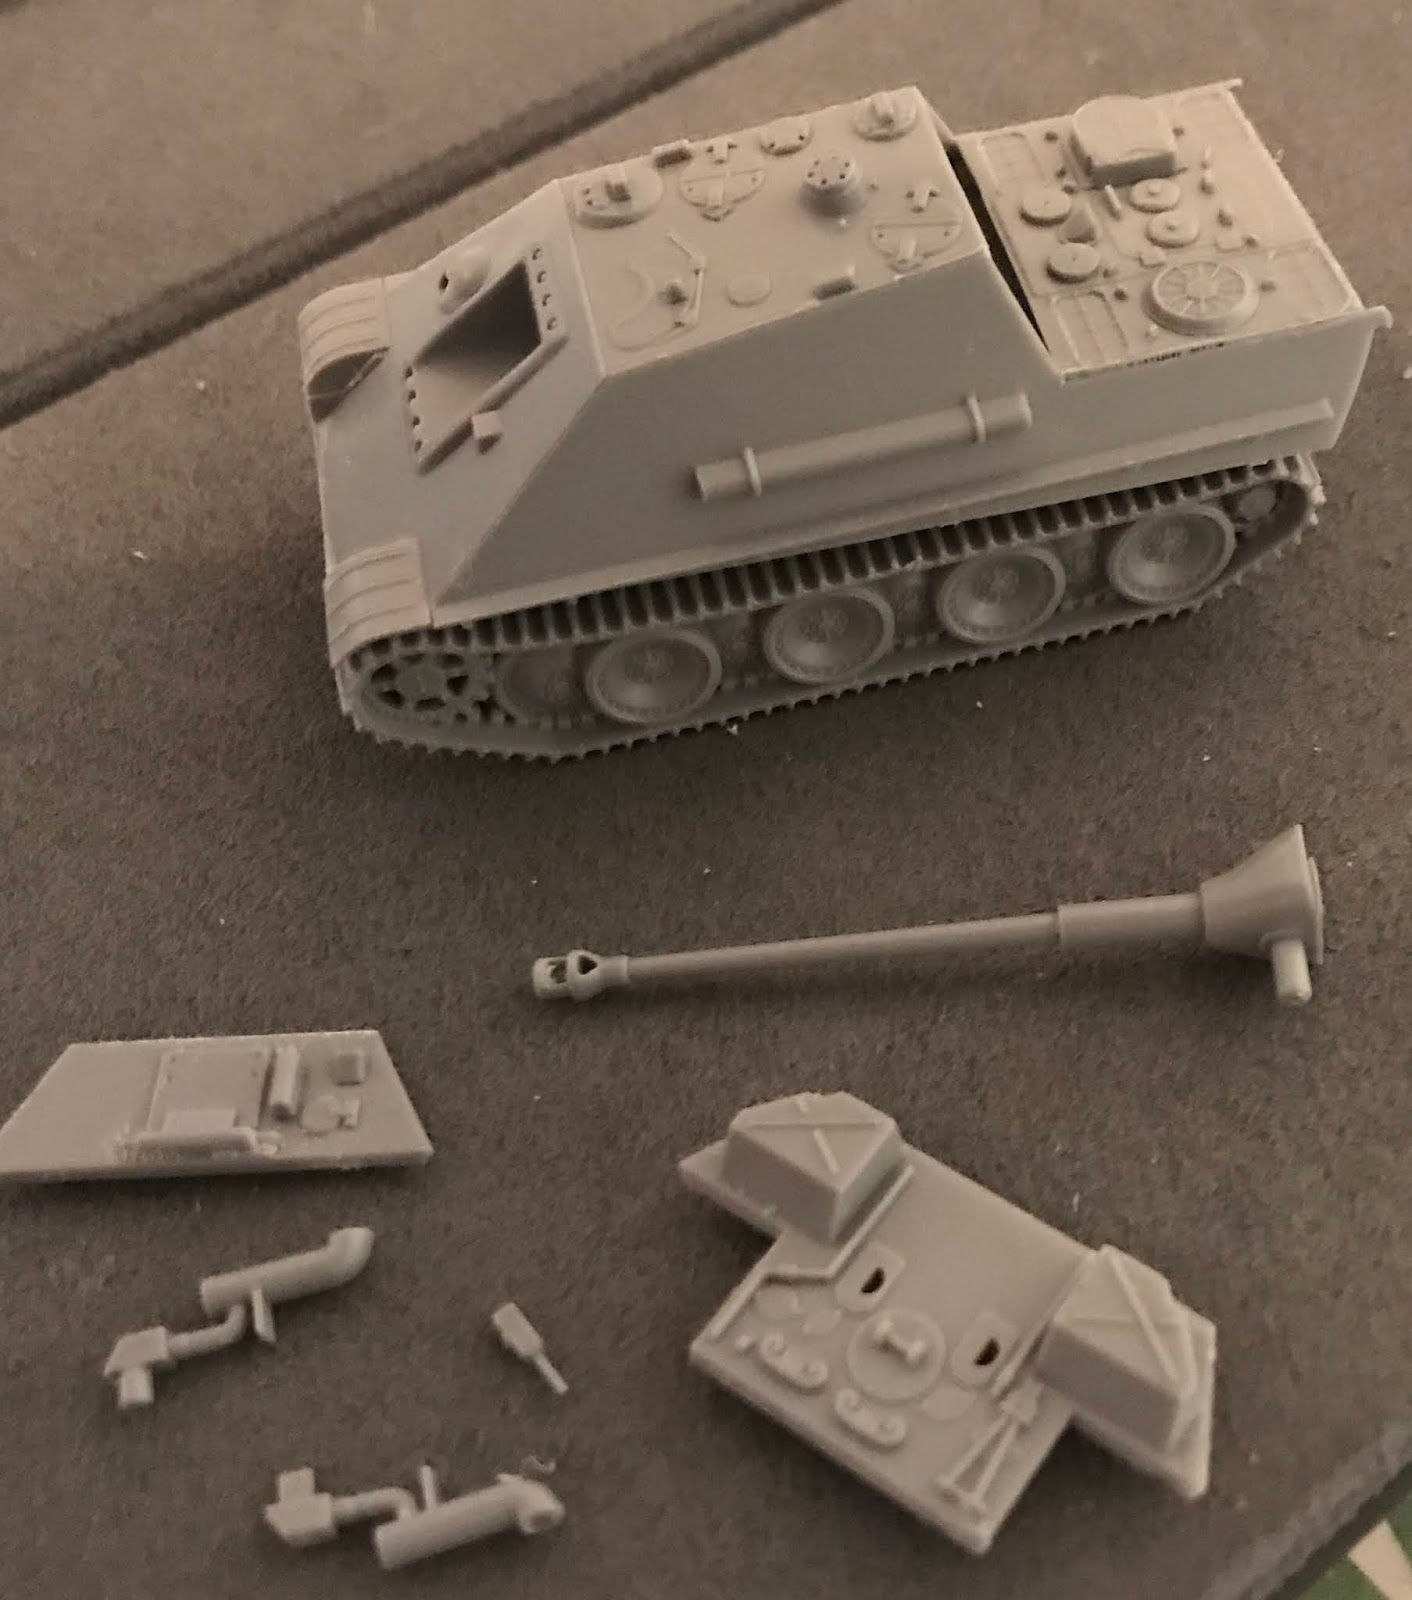
The finished model....
Very elegant model, maybe a little light on details here and there, but captures this sleek tank killer to a "T".

Highly recommended

1/100 Zvezda Panther - Build Review

Now I currently have 15 mm scale Panthers made by Forged in Battle, Battlefront & PSC, so I thought it would be rude not to test the Zvezda offering too 😁

Nice picture, but the model doesn't come with Zimmerit coating 

Finished kit illustrations set the alarm bells ringing...where's the hull MG mount? The hull front seems to have been modelled on an Ausf D!

Sub-assemblies laid out clearly.

All parts on two sprues

After assembling the main gun, the turret can be assembled

I didn't find the instructions clear on which way up the gun fits. Be careful!

Upper hull components with side skirts secured to inner frame

Completed. Nice spare track link & Pioneer tool details

Lower hull and running gear components

Neatly assembled around inner framework. Be careful to put frame in the correct way as the rear panel is fitted to the rear facing studs.

Finished model
Another nice model. Compared to some of the other in the range, the engine cover detail is a little simplified. Careful painting will improve it, but it's not their best effort.

I guess the problem is that I think it's actually an Ausf D not an Ausf A.

I've seen other posts on-line that say they are also packaging the same model as an Ausf G with the same box art-work.... If this level of rivet counting is important to you, take care. Otherwise enjoy a nice kit.

Recommended

Wednesday, 12 June 2019

1/100 Zvezda Maus - Build Review

I've always wanted a model of the legendary Maus. This provided a very affordable opportunity to fulfil that wish! As stated previously I cannot figure out the pricing structure for these kits as this is a big model! Pictures of the build below; -


Very simple step by step assembly

All the parts on two sprues

The gun assembly can be left movable once again. So be careful not to allow glue to enter the holes indicated

Here's another view of the assembled gun mounting. Leaving glue out of the holes indicated will leave the gun movable

The whole turret front+Gun mount is attached to the turret floor

Before adding the turret body and finally the gun assembly itself

Assembling the hull made me realise just how narrow the real hull must have been! Track units fit directly onto the hull and then the little frame is inserted on its side ready to attach the hull roof

With the hull top attached you can then add the hull sides

Finally glue the two halves of the fuel tank together and attach to the hull rear
What an impressive vehicle! Get one before they realise they can charge more!!