E-Mail:

If you enjoyed visiting this blog, please feel free add a comment after the article in question :-)

Search This Blog

Showing posts with label 15mm WW2. Show all posts

Tuesday, 31 August 2021

'O'Group - Too Fat Lardies

 On a whim I purchased these rules to have a look at. For WW2 battalion level wargames my go to rules have always been BKC II and I was curious to see what these have to offer.

I confess I'm still reading them through - personally I find them pretty heavy going. I suspect the author has been limited to a certain page count and this has led to a lot of editting down to the bare minimum. Whilst there are examples they are few compared to some others I've read. I think the quantity of clarification questions on the facebook group is indicative of my experiences.


None of this is helped by the printer's cock-up with the page numbering!


I'm sure I'll get through them and give them a go, but in the mean time I looked at my figure collection to see what I could re-use were I to play the game. The game is also counter heavy. These are available in mdf from TFL but also some nice ones to 3D print out are available on Thingiverse.


My 15mm WW2 figures are based in 3's on 30x30mm mdf and looked a good starting point as each base could represent a section. 


To ease movement I knocked together some 3D printed platoon bases and Command bases for the Companys. For the Battalion Commander base I created a sabot that would hold a dice and a 25x25mm based command group. The rest of my british battalion was made up of a support platoon, anti-tank platoon and tank support.


My collection runs to German opposition, US and Soviet forces so these bases can be re-used for different scenarios.

The figures are a mixture of Forged in Battle, Command Decision and Battlefront.

Monday, 6 April 2020

Next projects.....15mm Normandy Terrain - Part Two

These are now finished. The ten telegraph poles were firstly sprayed black, and then dry-brushed light grey. The supports for the wires were picked out in dark cam brown and the insulators in Iraqi sand. The base was finished off with a coat of brown craft paint and some static grass.


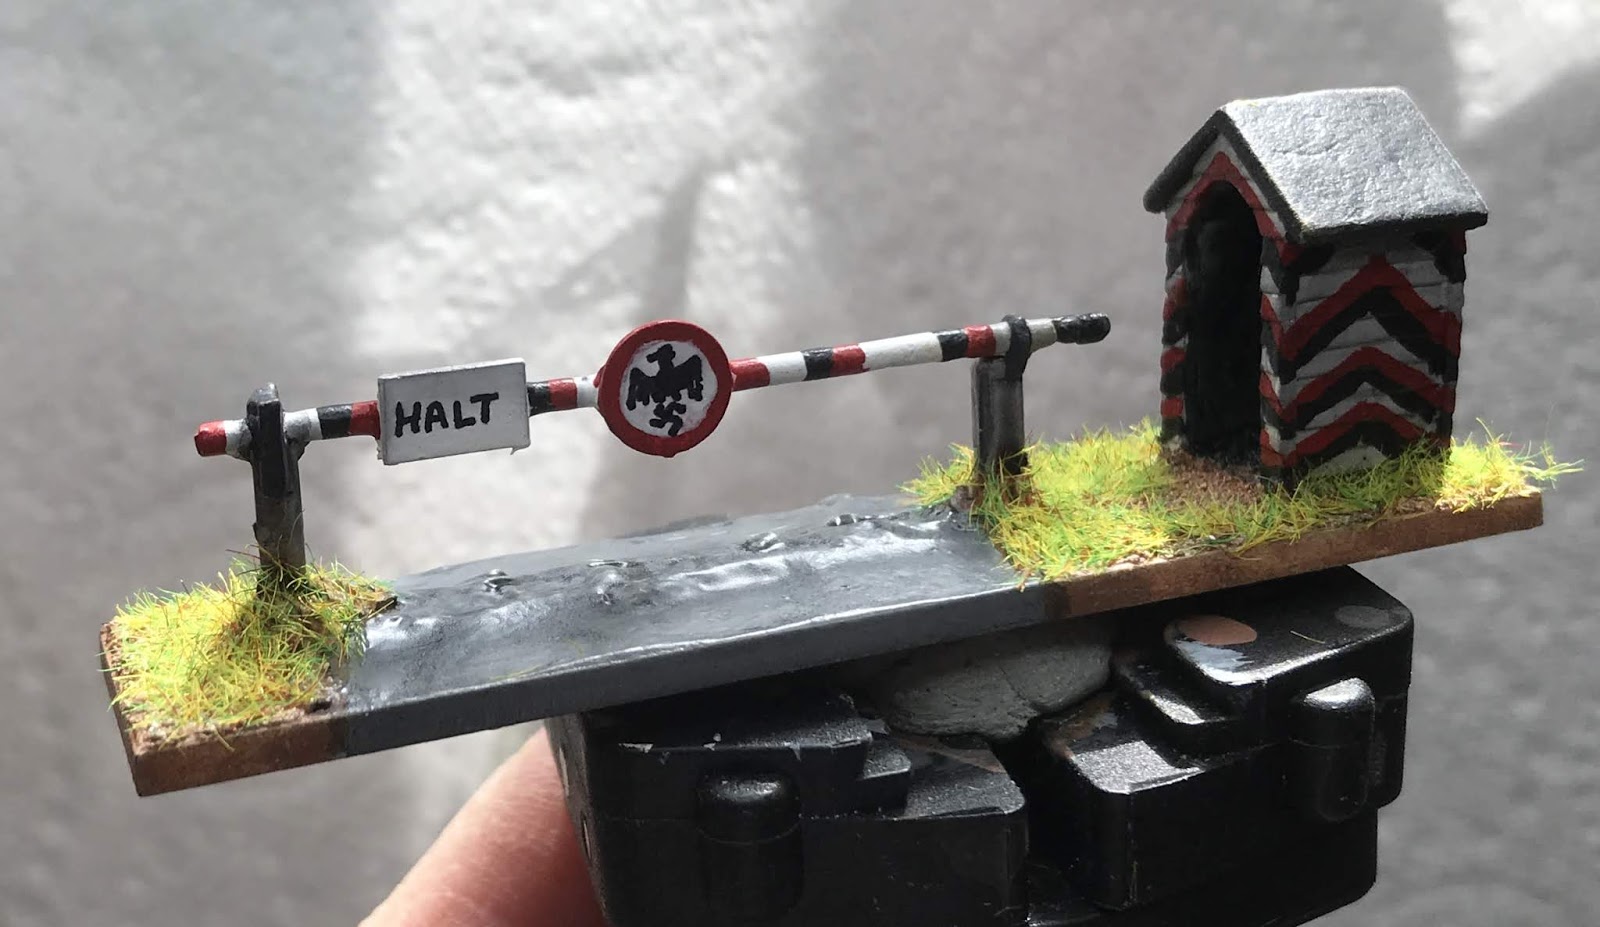
The sentry box and barrier were painted up as per examples I found on line.  The zig-zag pattern is eye-catching and a little challenging free-hand! The lettering on the barrier was simply hand drawn with a fine permanent marker pen, as was the eagle logo.


The sandbagged barrier and brazier were finished off largely with Skeleton Horde & Black Templar Contrast paints. Both the above had the ground work finished off with brown craft paint and static grass.


To pimp up the rather basic Warbases ruin. I firstly glued some randomly cut pieces of foam rubber (from a figure blister) into the corners to form the basis of rubble piles.


Then these were covered with an artist's textured paste I bought some years ago from Lidls. This is quite course, with fragments of texture 2mm in length which give a good impression of scale rubble.


Once dry I added a few matchstick timbers to the rubble piles and, when dry, sprayed the whole thing matt black.


Once this was thoroughly dry, I dry-brushed all surfaces with light grey acrylic craft paint.

Then this was followed with a very light dry-brushing of white acrylic paint. The timbers were dry-brushed light brown.


And that was the item finished. This still allows bases to be placed inside the building, but I now looks a little more realistic. Useful for any modern scenario WW1 to present day.


Friday, 3 April 2020

Next projects.....15mm Normandy Terrain - Part One

Some more of my stash for past Colours' visits came to light whilst rummaging in my drawers.


 These items were intended for my long planned re-fight of the Pegasus Bridge action and consisted of; -

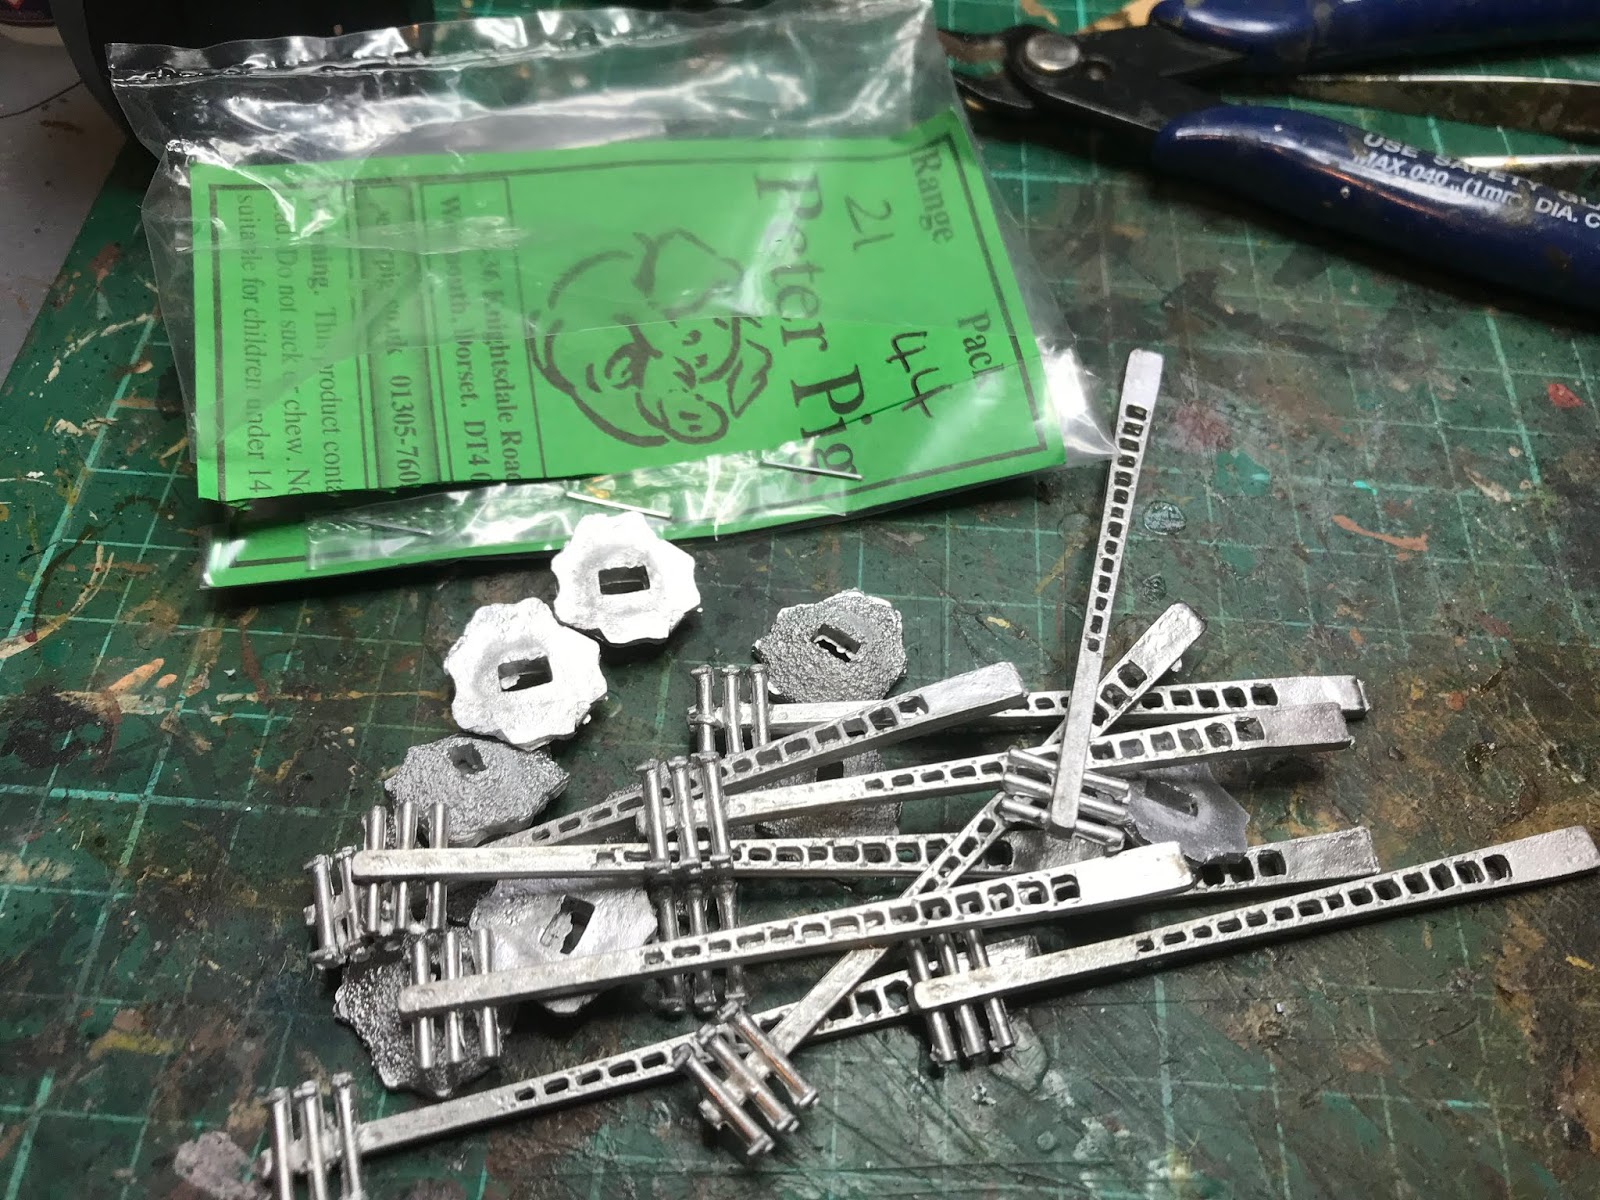
  • Peter Pig's sentry box and road barrier
  • Peter Pig's French concrete telegraph poles
  • Original Laser Designs (O.L.D.) mdf beach defences
  • Warbases Stalingrad type mdf ruin.
The set consists of sandbagged wall and brazier together with sentry box and road barrier.  I opted to mount these on mdf bases for ease of use and painting.
I needed the sentry box and barrier for the bridge itself as many illustrations show one of these at the Eastern end of the bridge.

The bases were textured firstly with artists acrylic paste.
The French telegraph poles were irresistible as they are a constant feature when touring the battlefields and will add some real character to a wargame's table.

They come in a pack of 10. The cast bases were superglued to the poles and then to steel washers to make them more stable on the table.

Sand was the added to the bases with PVA

Given a quick coat of craft shop acrylic "Chocolate Brown"
The beach defences will double up as barbed wire pickets or anti-tank obstacles.

These are simple to assemble and look the part when completed


The ruin, is just that, a random ruin I can use anywhere on the table.

Very basic model (though cheap!) which will require some work to get it ready for the table....rubble, timbers etc.
This post shows work in progress, I will follow up with the finished articles soon.  (https://timstanks.blogspot.com/2020/04/next-projects15mm-normandy-terrain-part.html)


Thursday, 13 February 2020

Pegasus Bridge in 15mm - 4Ground

For as long as I've been interested in military history, I have been drawn to small unit, Coup d'etat operations.

Top of my list has to be Operation Deadstick, the capture of the Orne Bridges, on the night of 5th/6th June 1944 by the Ox & Bucks airborne infantry.

I have visited the site of the operation a couple of times and the landscape is very emotive. (http://timstanks.blogspot.com/search?q=pegasus+bridge)

My intention has always been to refight this action using my 15mm WW2 collection, and to this end I have been collecting terrain pieces to suit for a number of years. (http://timstanks.blogspot.com/2014/07/pegasus-bridge-15mm.html)

Visiting CRUSADE 2020 a couple of weekends ago allowed me to fill one of the final pieces in the jigsaw - the Cafe Gondree - which cost me £18.

I chose to buy the 4Ground mdf version of the building as its ready coloured and offers far greater detail (realism) than the others I've seen available.


At first, the multitude of finely laser-cut parts and double-sided instruction sheet looked daunting. The parts need to be removed from their "Sprue" very carefully before assembling using either super-glue or PVA (I used PVA for all but the attachment of the finished chimneys).


I remove the parts by carefully cutting through the tiny un-cut "joining" piece between part and "sprue" with a very sharp scalpel.

Glider from Warbases and figures from Peter Pig
The parts are all cut immaculately and fit is perfect. I won't say assembly is simple as it is really quite intricate, but with care any competent modeller will cope.


I built the model over 6 days, constantly allowing sections to dry overnight before moving on. If using superglue you could probably do the entire job in one sitting.


4 Ground pre-painted models are sometimes criticised for the exposed "burnt" mortice joints. This model minimises this by cladding the core mdf building with coloured card sections of brickwork and render. The most obvious ones were on the chimneys and roof. To minimise these I mixed (as best I could) matching acrylic paint and carefully touched them up - I think reasonably successfully!

Safe in the display cabinet for now.....
When finished the model is very impressive. The roof is removable as is the upper floor to allow positioning of figures. It will provide a wonderful scenic addition to my game when I finally get around to fighting it out!!

Thursday, 13 June 2019

1/100 Zvezda Jagdpanther - Build Review

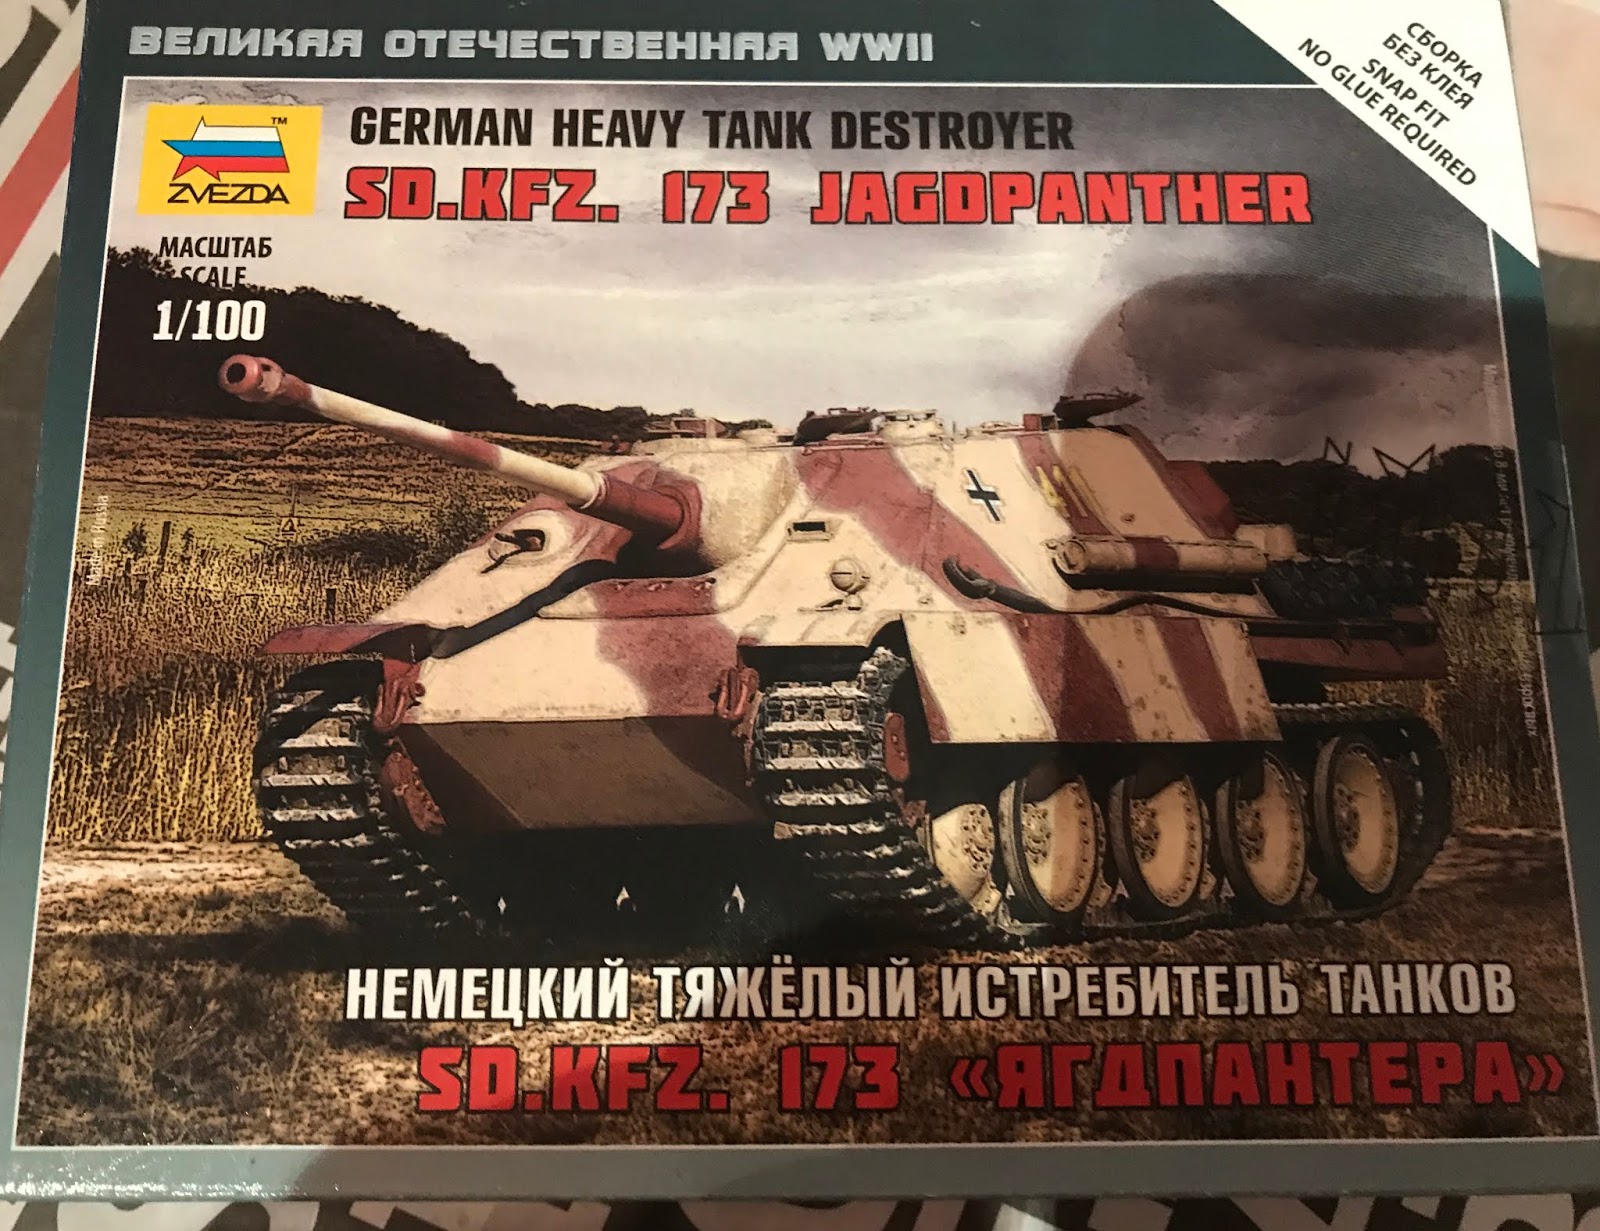
Final instalment for now is the Jagdpanther in 15mm. One of the most attractive AFVs from WW2 in my humble opinion and except for the Battlefront example that came with the GF9 Tanks game, another vehicle I'd like to have in my collection.


Two sides of instructions...only side two shown here

Two sprues containing all the parts

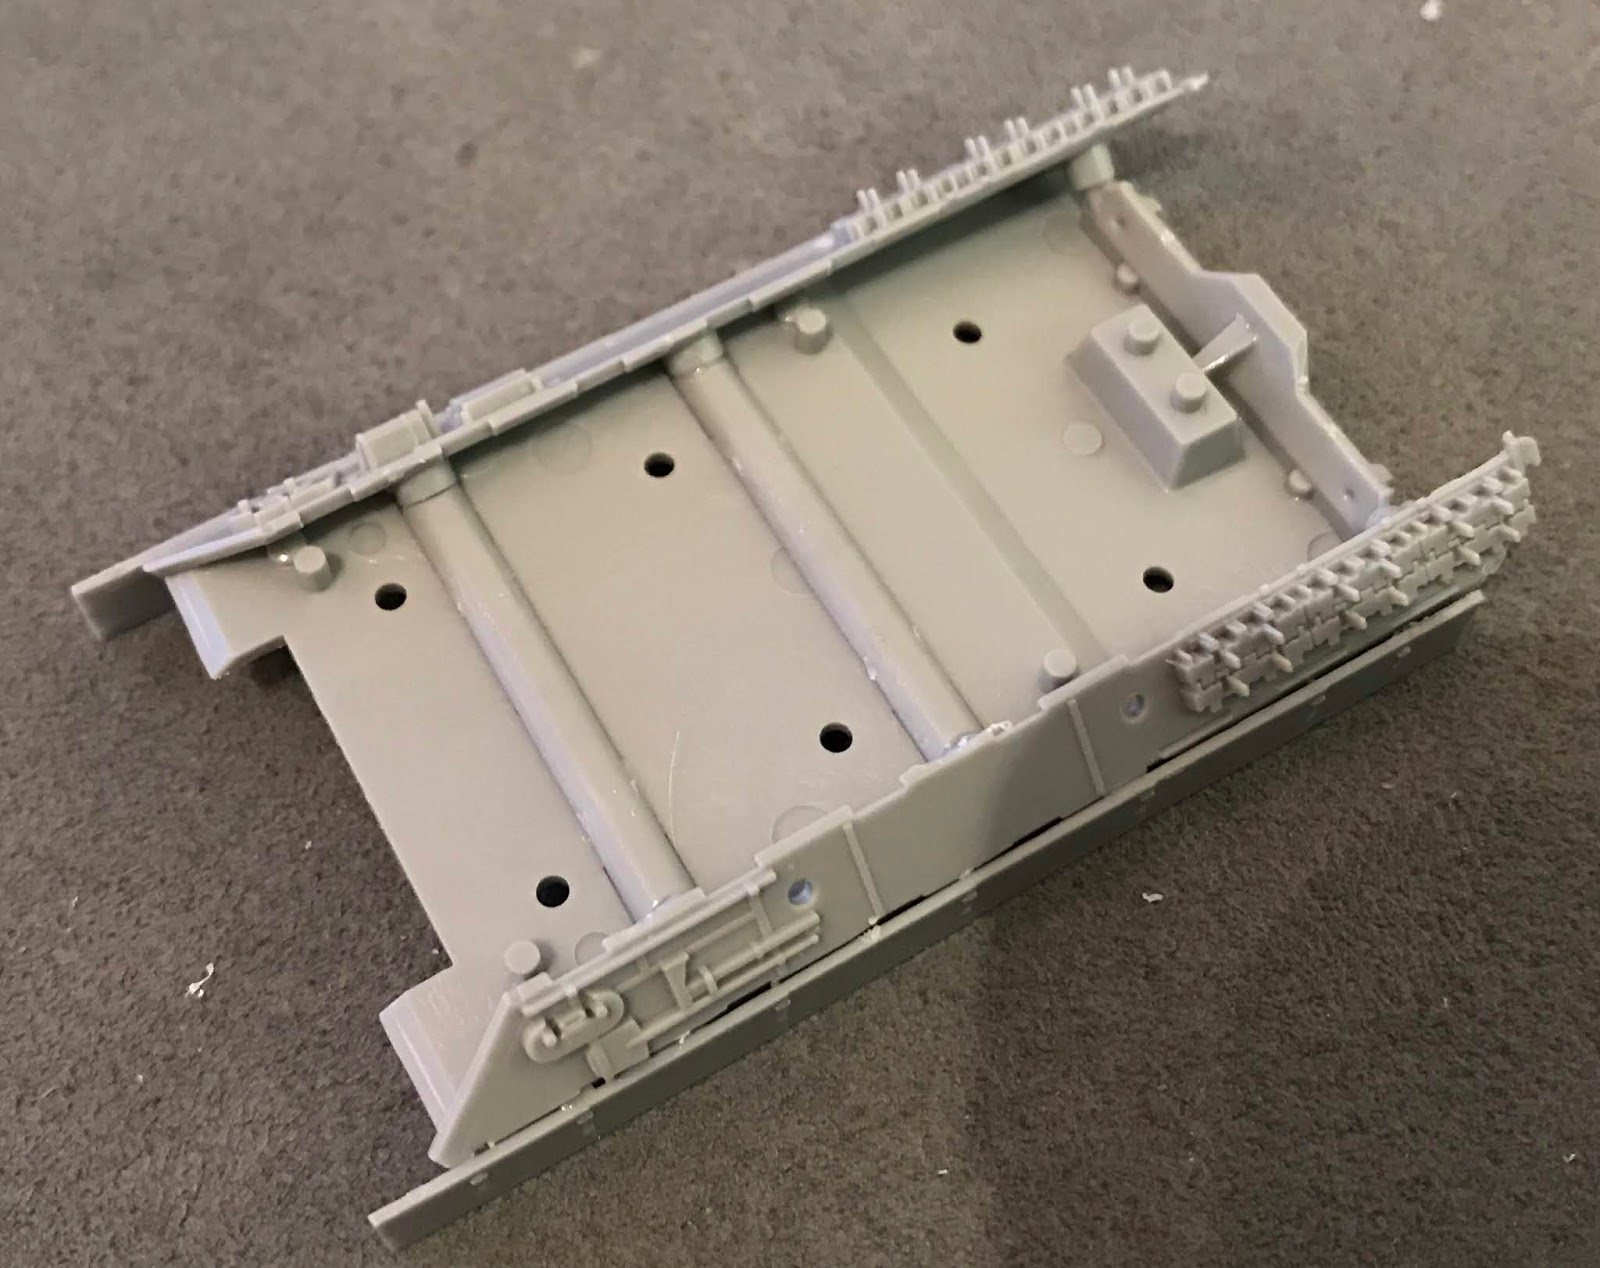
Starting with the lower hull and the various support frames

Build up to look like this....Yes really!

Add the track units to the side walls and glue them to the side facing studs of the lower frame.

You're now ready to assemble the body of the vehicle.

Start with the two hull sides

Then the Glacis Plate, followed by the roof & engine deck

Finally add the fighting compartment rear wall and the engine compartment rear panel. Add to this the exhaust pipes and the hull MG

The finished model....
Very elegant model, maybe a little light on details here and there, but captures this sleek tank killer to a "T".

Highly recommended

1/100 Zvezda Panther - Build Review

Now I currently have 15 mm scale Panthers made by Forged in Battle, Battlefront & PSC, so I thought it would be rude not to test the Zvezda offering too 😁

Nice picture, but the model doesn't come with Zimmerit coating 

Finished kit illustrations set the alarm bells ringing...where's the hull MG mount? The hull front seems to have been modelled on an Ausf D!

Sub-assemblies laid out clearly.

All parts on two sprues

After assembling the main gun, the turret can be assembled

I didn't find the instructions clear on which way up the gun fits. Be careful!

Upper hull components with side skirts secured to inner frame

Completed. Nice spare track link & Pioneer tool details

Lower hull and running gear components

Neatly assembled around inner framework. Be careful to put frame in the correct way as the rear panel is fitted to the rear facing studs.

Finished model
Another nice model. Compared to some of the other in the range, the engine cover detail is a little simplified. Careful painting will improve it, but it's not their best effort.

I guess the problem is that I think it's actually an Ausf D not an Ausf A.

I've seen other posts on-line that say they are also packaging the same model as an Ausf G with the same box art-work.... If this level of rivet counting is important to you, take care. Otherwise enjoy a nice kit.

Recommended