I thought I'd write this report as a step by step painting guide, which may (or may not!) be of some use to those reading the blog.
STEP 1:- Undercoat the model in white. I use GW, Vallejo or Army Painter aerosol paint because it covers well, in an even - not too thick coat - and dries quickly. Ultimately the model will be based. In the picture the model is stood loosely on its 40 x 80mm mdf base. To prepare the base it was coated with Vallejo Grey Pumice which when dry, was painted with Earth Brown acrylic paint and finally dry brushed with Vallejo Sand.
STEP 2:- As this is the only Russian model I was finishing, I chose to brush paint it rather than use the airbrush. It was finished in Vallejo Russian Green, which had been slightly thinned with Vallejo Thinners. The paint dried thin in some places (you can see the lighter areas showing through on the turret for instance) but this is of no consequence for the stages to follow.
STEP 3:- The next stage was to paint the entire model in Vallejo Sepia Wash. This settles in the crevices and pools around raised detail to give an impression of shadow and collected dirt.
STEP 4:- The track detail was picked out in slightly thinned Vallejo Light Grey
STEP 5:- Now all the wash covered, green painted, areas are dry brushed with slightly lightened (with white) Vallejo Russian Green. Done with a soft flat ended brush, the aim is to get the paint to adhere to all raised areas and large open spaces (i.e. hull sides).
STEP 6:- To pick out the detail the entire model was now dry-brushed with Vallejo Sand. I use a flat ended nylon bristled brush I bought from Hobbycraft as part of a 6 brush set for £4. Make sure the brush is liberally coated with paint and then brush it off onto a tissue until no more appears to be coming off. Then the brush will be ready to leave just the slightest hint of highlight on all edges and raised detail.
STEP 7:- Nearly there now! The finishing touches begin with coating the tracks in Vallejo Fleshtone Wash to simulate rust. When this has dried it will also get a dry-brushing of Vallejo Sand. Next pick out the tools, spare track links and towing cable in grey & brown followed by a Sepia Wash. The exhausts were painted to simulate rust - using brick red followed by Vallejo Smoke Glaze. The simple red stars were hand drawn with pencil and then painted free had in GW Blood Red. The model was attached to its base with PVA adhesive and left to dry.
STEP 8:- All that's left to get the model read for the table is to spray a coat of GW Purity Seal to protect the paintwork followed by (when dry!) a spray coat of Army Painter Matt Coat to dull the finish down. When all was dry an bit of PVA on the base with some static grass and the model's finished.
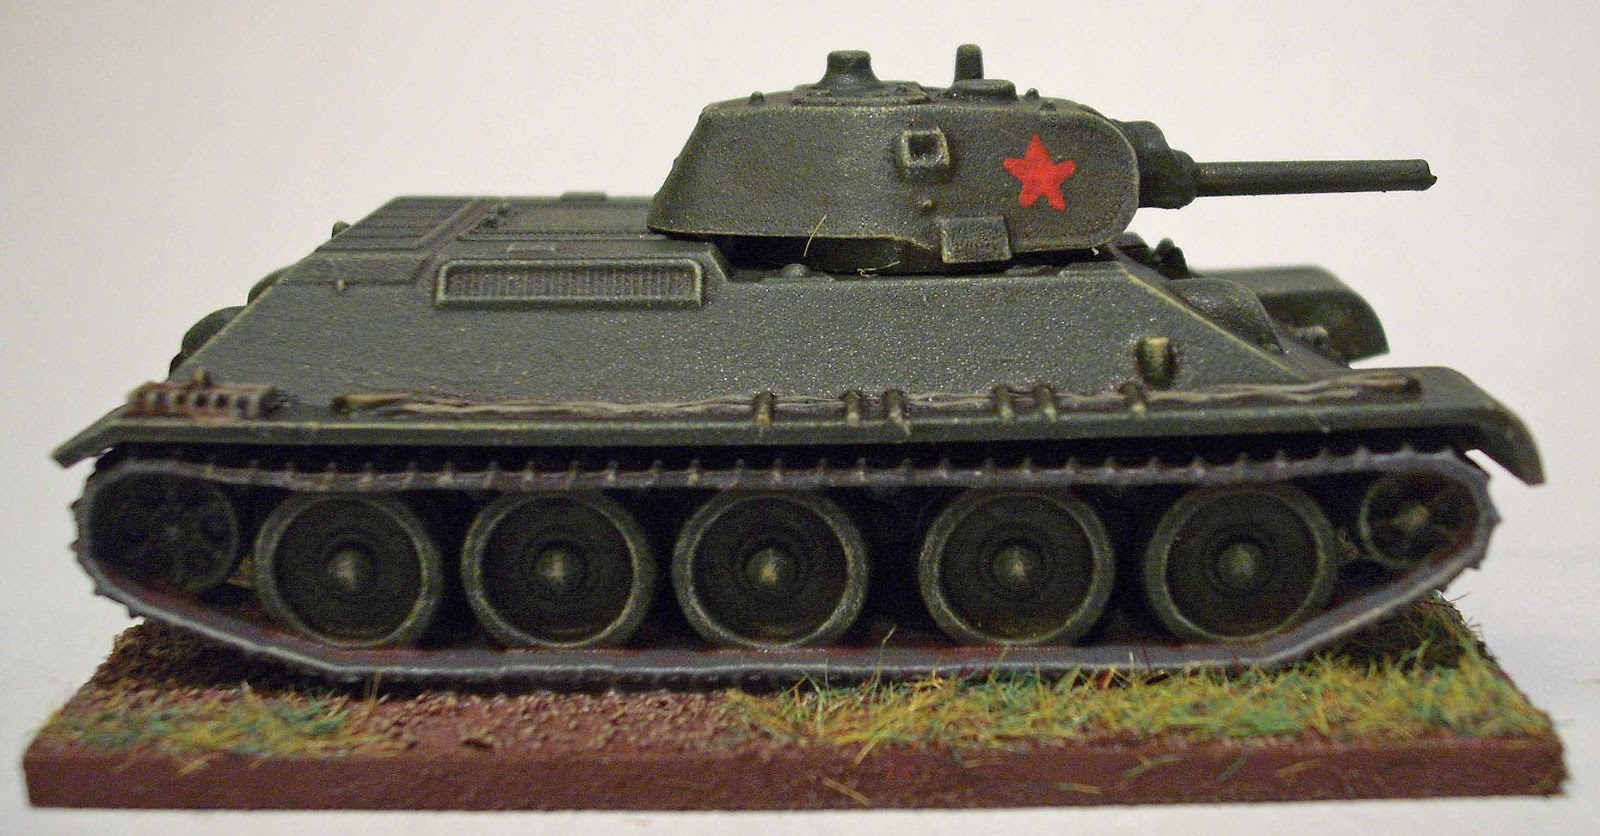
Below are a few more shots of the finished model. In the final part I'll compare the Zvezda T34 to the PSC example.
 |
| Top View |
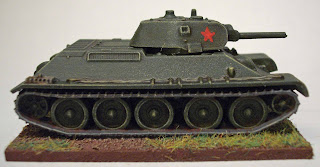 |
| Side View |
 |
| Front View |
 |
| Rear View |


Well, I'm looking for the mdf coating to achieve some smooth finish on a set of antique cabinets that I am restoring. Any suggestions?
ReplyDeletemdf coating