
Time to try the rules out in anger for the first time….solo.
I opted to go for Scenario 3 in the book – Encounter.

Before beginning, both forces are divided in half and one
half deploys in the first three rows whilst the other is held in reserve. The
reserves get to come on when a combined score on 2D6 rolled at the end of a
turn, is less that the number turn you are on.
I used what forces I have – so probably smaller armies
than the scenario required. The British force was 52 points and the German 62
points. This exercise was more about trying out the rule mechanisms and learning how the game plays, than replaying a historically accurate event.

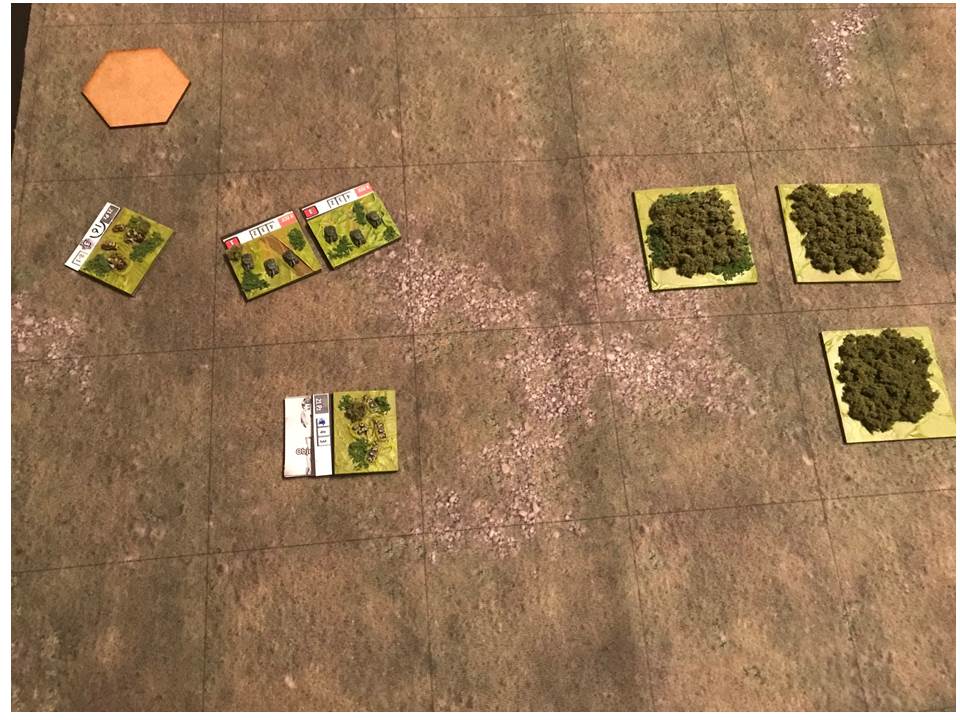
Once the terrain was set I deployed the two armies and I was ready to go. Starting positions were as per the photograph below.

TURN 1: The Brits won the dice-off for for first move and opted for a swift right flanking move with a small battlegroup (top right corner) intending to take out the nearest German held objective (top left corner).
Two Ops bought me a road movement of 6 squares, crossing the bridge along the way. To delay any attack on the British objective (bottom right corner), the armoured unit supporting the holding infantry company, advanced two squares to the bocage area to their front.

TURN 2: The Germans also spent 2 Ops and advanced via road movement to cross the river just to the front of the defending British armoured unit. Here they waited (tipped) for infantry support to catch up.

TURN 3: Saw the British right flank advance come to fruition with a successful flanking assault on the German dug-in Company at Objective 1. I'd found the mechanisms for combat to be simple to learn and the QRS contains just about all you need to play. I do find it helpful to have a pen and paper handy to work out the opposing combat factors though!

TURN 4: The German Panzergruppe was now ready to pounce. They moved into the attack against the British Armour and although they were tipped and at a disadvantage they succeeded in causing enough hits to destroy them. This was largely at the cost of spending a large number of Ops on a 2nd round of tactics and then paying for shifts in the number of hits to ensure success.

TURN 5: Having left an Infantry Company behind to hold Objective 1, the British armoured units advanced across the table (Behind enemy lines but not isolated) and prepared to assault the second German Objective.
Once again the objective fell reasonably easily even though the armoured units were tipped. The flanking attack + out-numbering made all the difference! As you can see from the picture, the German artiller was still tipped from supporting the previous turn's attack, so couldn't support the objective.
So at the end of turn 5 the British forces held all 4 objectives, but the Germans were closing in on the 1st British position.

Things were looking Ok for the German forces until the British rolled an 1 and a 3 at the end of turn 5....allowing their reinforcements to deploy in the first row of the British table edge.........
I'm sure I'd probably missed some things in those first few moves, but the rules are very straight forward. The use of Ops to buy events and tactics gives you plenty to think about along the way. Do you just keep buying and taking your 6 (hopefully) new Ops each turn? or do you take a chance and reset the Command Post to free up the most useful Ops again but risk not having enough Ops to pay for them....what a conundrum! Loving it!!
To be continued.
No comments:
Post a Comment