To pass the evenings whilst away on holidays last week, I took along some of my 15mm plastic kits from the "
Shelf of Shame".
I figured that if I could get them assembled, I could then give them a base coat using the PSC Sprays I'd just bought to complete some 28mm vehicles for Bolt Action/CoC. This would at least get them into the "
System"!
I found that I had 5 German vehicles awaiting assembly in total - I guess every time I've seen a new model added to the range I've bought one and put it on my shelf 😩
Some things that are consistent with all of the kits were;-
- All are really designed for their Art of Tactics game, so all include a little flag to attach to the rear of the model (I just leave these off)
- They come in a neatly illustrated cardboard box, with some images of the finished model on the rear.
- No longer include the data cards with the models, these have to be downloaded & printed at home if you need them.
- Include a printed assembly instructions sheet.
- But sadly no decals
- All moulded in a nice, light, neutral grey plastic on two sprues
- The plastic is easy to trim and takes polystyrene cement
- Which is good as all parts have several sprue connections to be trimmed after removal!!
- Assembly being broken down into sub-stages
- Because they models are designed to be snap-fitted they can appear to be over-complex in their design?
- Whilst the upper surfaces have some really fine, delicate detail the tracks are still very much simplified.
- All hatches are moulded closed so adding crew will require major surgery!
I started with the Zvezda 1/100 Tiger II model . The photographs will illustrate the steps taken and the captions will explain any specific observations.
 |
| Box front |
 |
| Box rear |
 |
| You can see how assembly is broken down into sub-stages |
 |
| Two well moulded sprues contain all the parts |
 |
| Two gun brackets are glued onto turret floor sandwiching the gun barrel mount |
 |
| Becareful not to get glue on the gun barrel mount if you wish it to elevate! |
 |
| When you add the turret front be careful to to let glue migrate onto the un-glued barrel mount |
 |
| When you have added the turret body and gun barrel, the spare track links can be added. Be aware they are all different and need to be placed in their correct locations! I carefully drilled out the end of the barrel carefully with a 2mm drill bit. |
 |
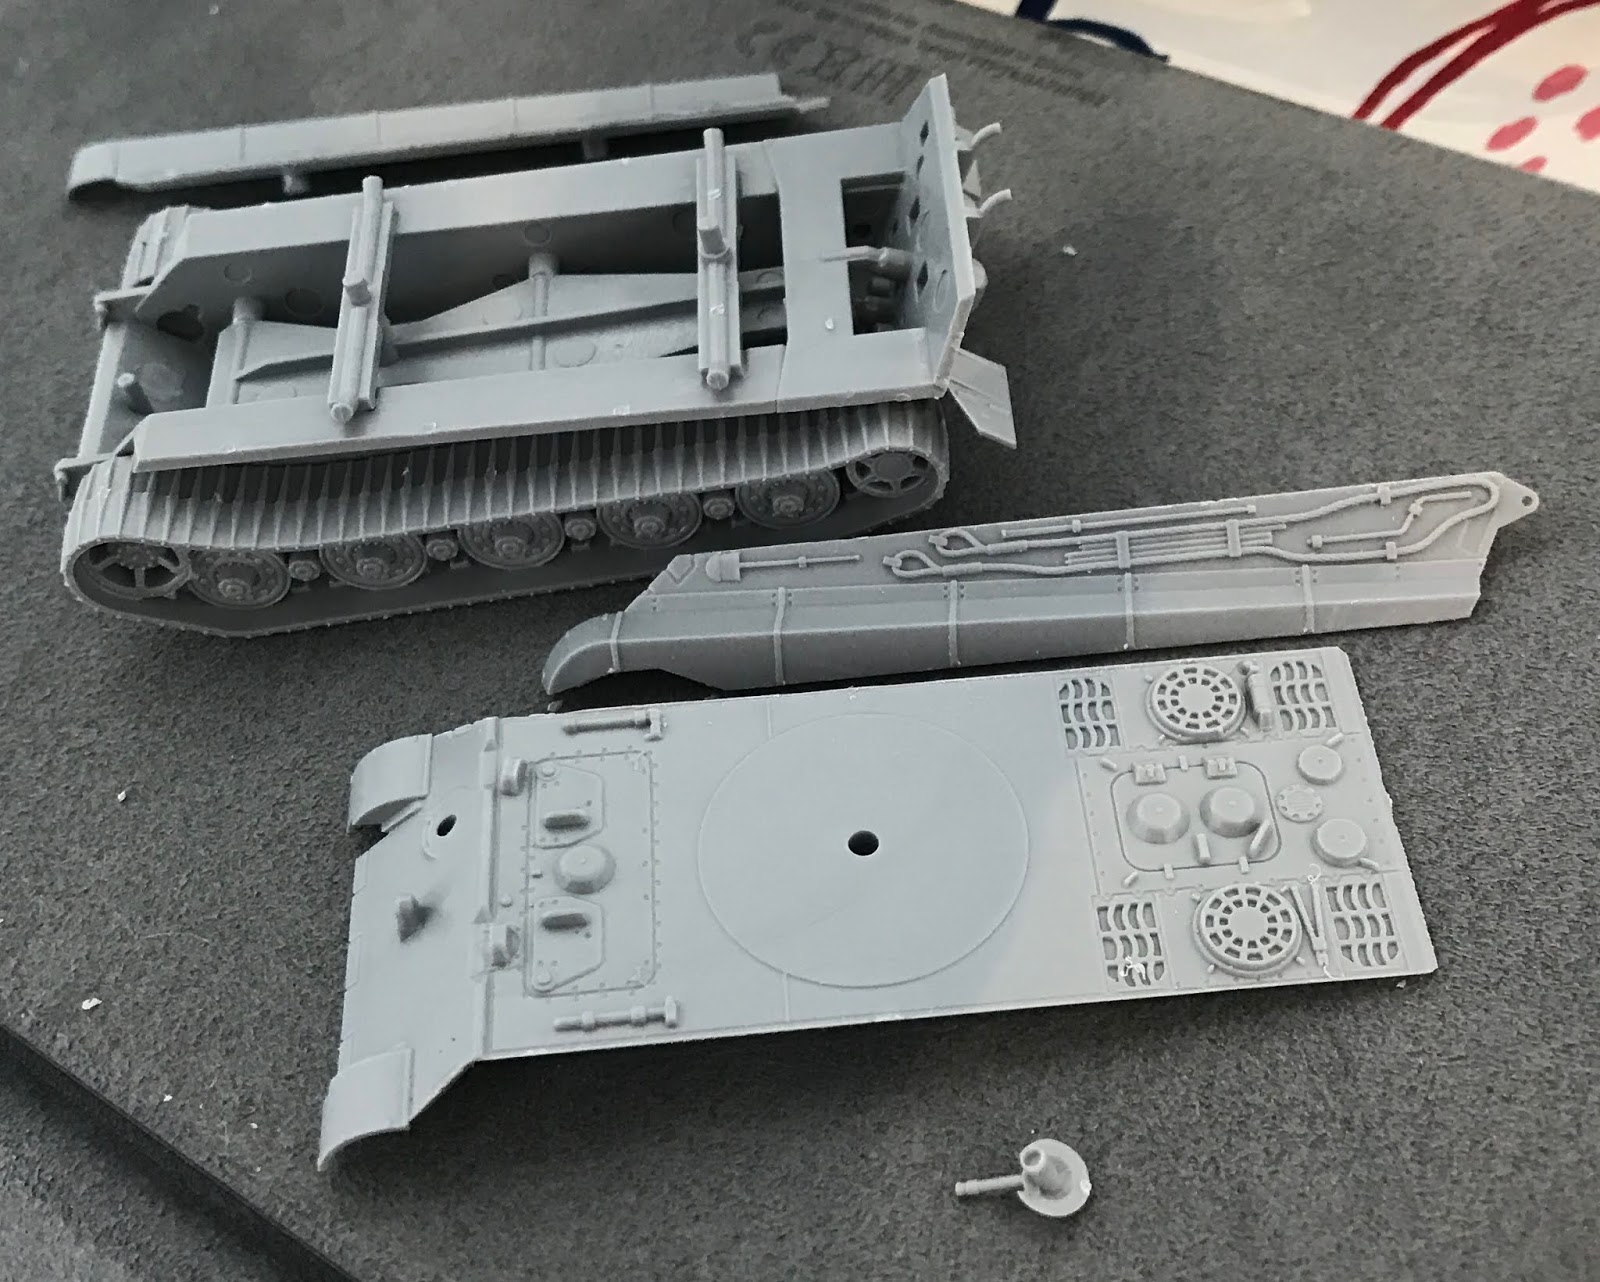
| The lower hull parts. The frame that attaches the sides to the floor is typical of what I consider to be a slightly over engineered solution to creating the model. In their defence, they do ensure correct alignment! |
 |
| More cross-members further strengthen the hull and allow the upper hull and track guards to be attached. Note how simple the tracks details are, and how hard the sprue connections are to remove! |
 |
| All the parts in the previous picture come together to produce this! |
 |
| The hull upper surface and sides now attach to the sub-assembly from the previous picture |
 |
| Add the hull top first |
 |
The finished article! Nice detail that will stand-out after dry-brushing.
I will publish the painted version as I get it completed. |
The quality of the models is really very good. Fit of parts is faultless. Some steps, however are a little fiddly - especially for big fingers!
It would be nice to have some decals....but my spares box is still providing enough.
What does fox me is the pricing structure? It's hard to see why a Tiger II or indeed a Maus costs less than the Tiger I (is it because this has three sprues instead of two?) I guess I'll never know.
Thoroughly recommended.


No comments:
Post a Comment